The Short Answer
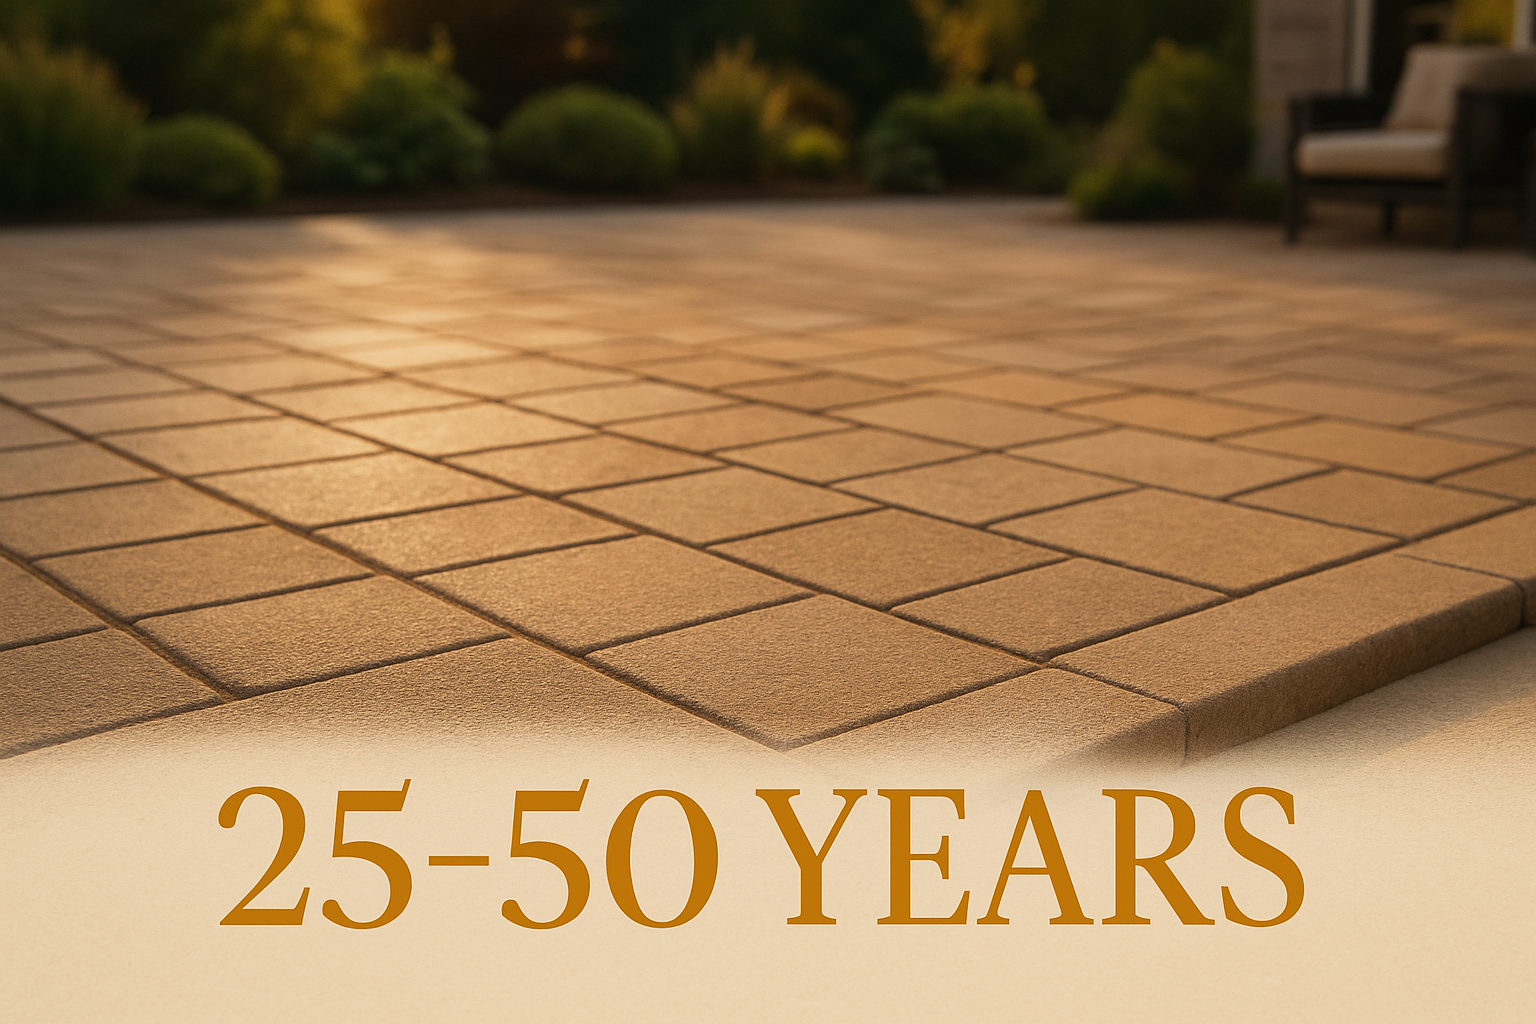
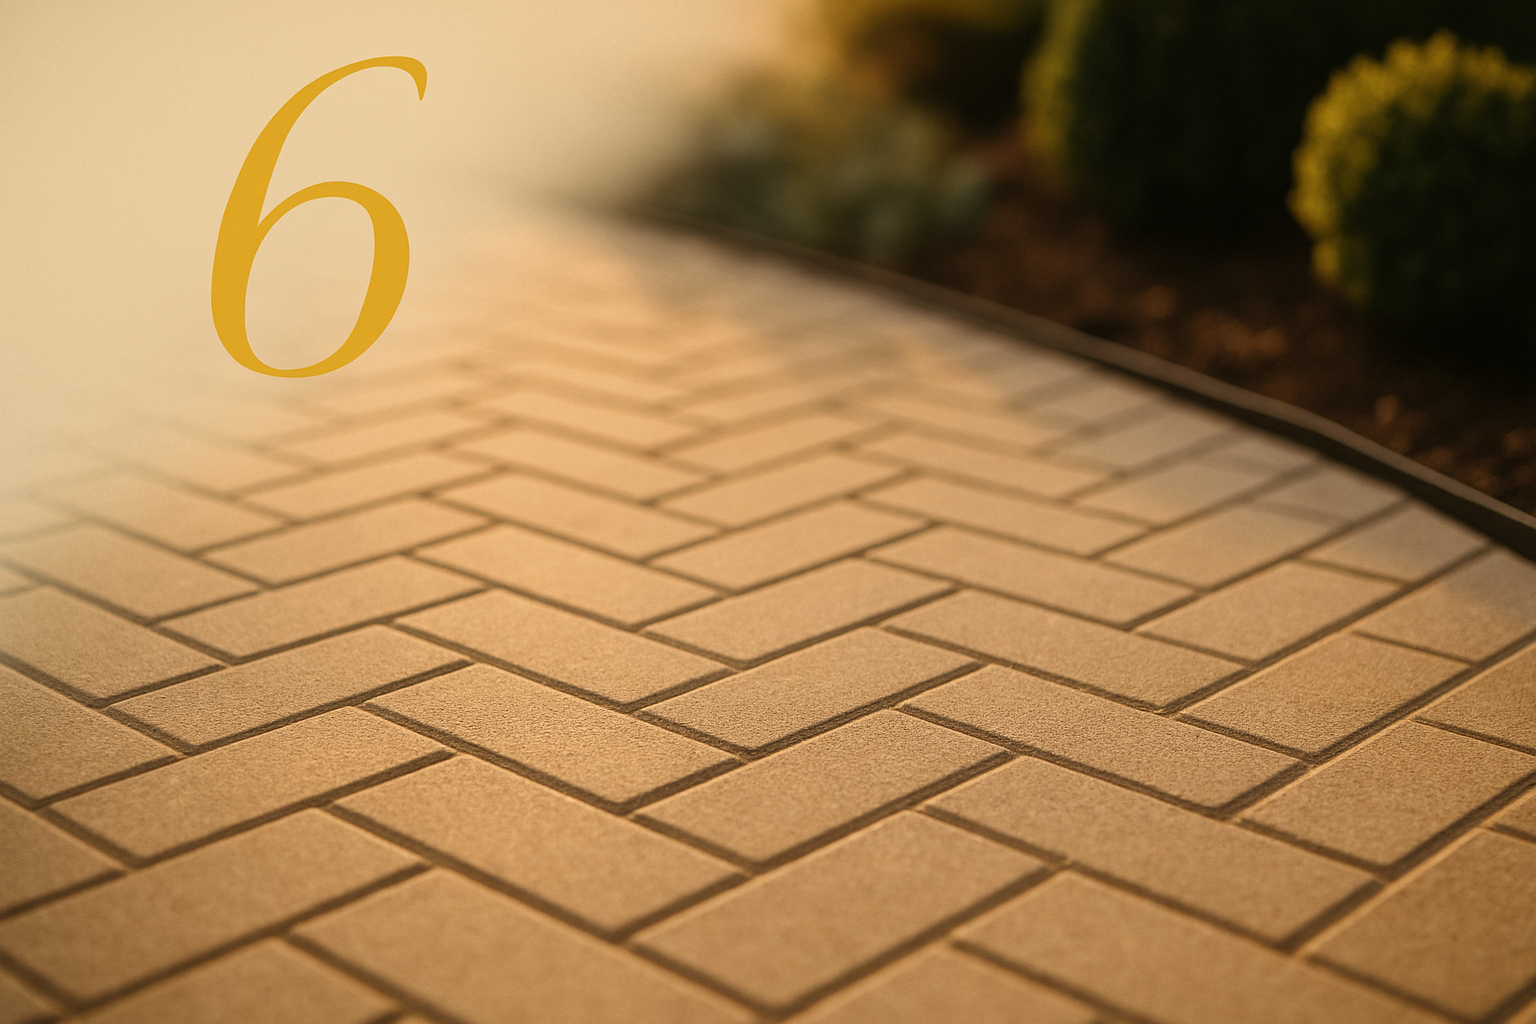
Paver patios sink because of installation shortcuts, not paver defects. Five things prevent it: deep base prep over expansive clay, slope toward drainage, PVC edge restraints, polymeric joint sand, and a French-drain plan on hillside lots. Get all five right and a paver patio installation holds level for 25 years or more. Miss any one of them on a Lafayette or Orinda clay lot, and you'll be lifting pavers within two to three seasons.
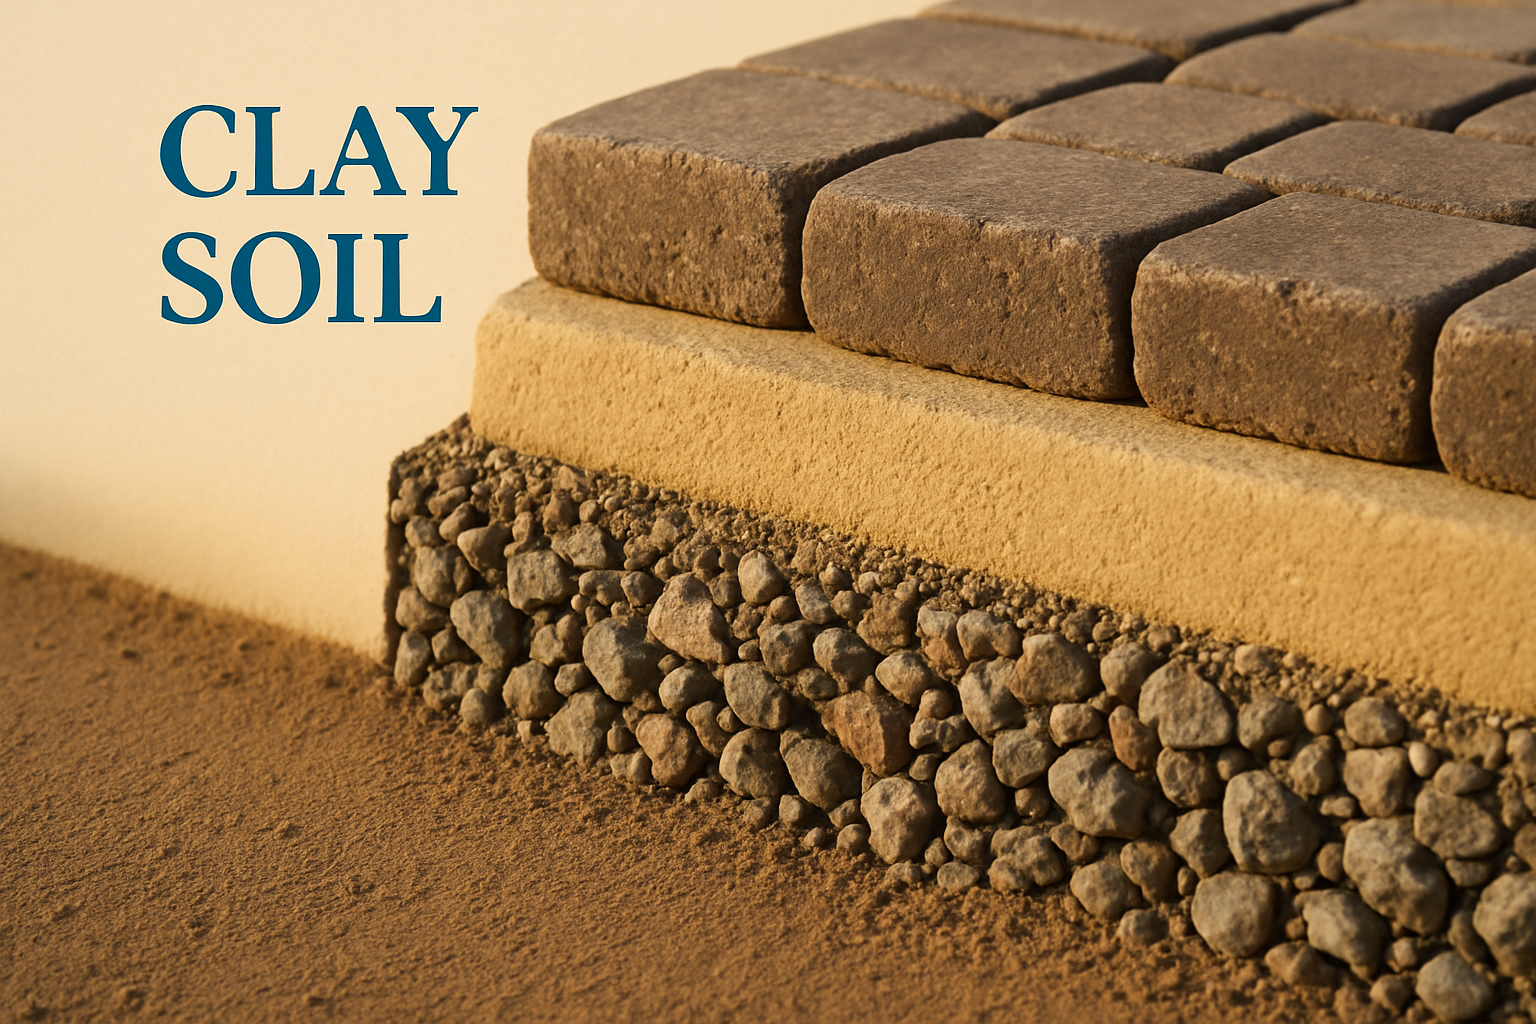
Expansive clay is soil that swells when wet and shrinks when dry, with seasonal volume change of 5–10%. Every section below ties back to that single fact — because clay behavior is the root cause behind most of the sinking, settling, and shifting that East Bay homeowners call us about.
Why Do Paver Patios Sink in the East Bay?
The Lamorinda hills and the broader Contra Costa corridor don't have forgiving soil. What looks like a stable backyard in August is a slowly moving mass by February. Understanding why patios fail here starts with knowing what's under them.
Inadequate base preparation
A thin or poorly compacted base is the single most common cause of paver patio installation failure in the East Bay. When the aggregate layer beneath a paver field doesn't have enough depth or density, traffic loads and soil movement push through it — and the surface follows. Most DIY installations and budget installs use 3 to 4 inches of base aggregate, which is fine for stable sandy soil and entirely inadequate for the clay-heavy lots common in Lafayette, Moraga, and Orinda. The base doesn't just support weight — it distributes it. Without enough depth and proper compaction in lifts, you get uneven settlement concentrated wherever load is highest: chair legs, a heavy grill, foot traffic paths.
Expansive clay soil and seasonal movement
Expansive clay in Lafayette, Moraga, and Orinda moves 2–4 inches between wet and dry seasons. Lafayette, Moraga, and Orinda all sit on expansive clay belts that stretch across the Lamorinda hills and into the broader Contra Costa corridor. That movement isn't distributed evenly across a patio — it concentrates where drainage is poor, where shade keeps soil wet longer, and where the base layer is thinnest. A paver field installed directly over expansive clay without geotextile fabric and a deep aggregate buffer is essentially floating on a surface that changes shape twice a year.
Poor drainage and surface grading
Standing water after rain is a warning sign that a patio's subgrade is saturating — and saturated subgrade loses its load-bearing capacity. When water infiltrates the base aggregate and has nowhere to go, it softens the material that's supposed to stay rigid under load. On Moraga's clay slopes and in the Orinda hills, winter rain totals of 25–30 inches hit soil that already drains slowly. A flat-graded or reverse-pitched patio holds that water against the structure instead of shedding it. The result isn't dramatic collapse — it's gradual, uneven sinking that worsens every wet season. Proper grading and drainage are part of every Moraga hardscape work and Orinda paver patio spec we write.
Missing or failing edge restraints
Without edge restraints, the perimeter of a paver field spreads outward under repeated traffic and seasonal soil pressure — and once the perimeter moves, the whole field loses its constraint. Edge restraints are the mechanical boundary that keeps every paver locked in its intended position. Remove them (or skip them on the install), and a paver field walks 1/4 to 1/2 inch per year, with perimeter pavers separating first and interior pavers following. It's one of the most-skipped details on East Bay paver bids, and one of the most expensive to correct after the fact.
What Base Depth Does a Paver Patio Actually Need in East Bay Clay Soil?
A paver patio in East Bay clay soil needs 6–8 inches of compacted Class II aggregate in 3-inch lifts over non-woven geotextile fabric — roughly double the manufacturer minimum. 6–8 inches of compacted Class II in 3-inch lifts is the proven base spec for East Bay clay-soil patios.
ICPI (the Interlocking Concrete Pavement Institute) is the U.S. trade body that sets installation standards for interlocking concrete pavers. Their reference document, ICPI Tech Spec 2 (Construction of Interlocking Concrete Pavements), specifies base preparation requirements by soil type — and explicitly calls for increased base depth on poor-draining, expansive soils. East Bay clay qualifies on both counts.
| Spec | Manufacturer minimum | East Bay clay-soil spec | What fails with the minimum |
|---|---|---|---|
| Base aggregate depth | 4 inches compacted Class II | 6–8 inches compacted Class II in 3-inch lifts | Base punches through under traffic; clay swells into aggregate layer |
| Geotextile fabric | Optional | Required — non-woven over subgrade | Clay fines migrate up into aggregate, destroying drainage capacity |
| Bedding sand layer | 1 inch screeded | 1 inch screeded (same) | Not the failure point if base is correct |
| Compaction equipment | Hand tamper acceptable | Vibratory plate compactor required | Hand tamper never achieves required base density; base settles post-install |
| Subgrade prep | Grade and compact | Grade, compact, and assess clay expansion potential | Flat subgrade holds water against base; clay movement concentrates at low spots |
The geotextile fabric layer is frequently omitted on lower-bid installs. Its job is to prevent clay fines from migrating upward into the aggregate layer over time — a process called subgrade contamination that destroys drainage capacity quietly over two to three years. By the time you see surface movement, the base aggregate is already compromised from below.
For paver patio installation on the expansive-clay lots common across Lafayette patio projects, Walnut Creek, and surrounding Contra Costa areas, treating the ICPI minimum as a floor — not a target — is what separates a 25-year patio from a 5-year repair project.
How Does Proper Grading and Drainage Stop Paver Patio Settling and Shifting?
Grading prevents paver patio settling by sloping water away before it saturates the subgrade, and by ensuring traffic load compacts the base uniformly. The industry standard is 1 inch of fall per 8 feet, increased on hillside Lafayette and Orinda lots where winter runoff volume is significantly higher.
The 1-inch-per-8-feet rule (and when to break it)
One inch of fall per 8 feet of patio run is the baseline grading standard for paver surfaces — enough to move surface water without creating a noticeable pitch underfoot. Industry tolerance for a paver patio is 1/4 inch of deviation over 8 feet, which means your grading needs to be precise, not approximate. On a flat Danville lot near the freeway, that standard grade is usually sufficient. On a sloped property along Happy Valley Road in Lafayette or in the Orinda hills, you need more. Shallow grades on hillside lots funnel water from uphill onto the patio instead of past it, and no amount of good base prep compensates for a subgrade that stays saturated from November through March.
Flat-graded patios — level in every direction — fail unevenly because furniture legs, foot traffic, and grill positioning concentrate load in fixed spots. Those spots compress the base more than surrounding areas, and the differential settlement shows up as a wave or dip that's usually impossible to correct without lifting the field. It's a non-obvious failure mode: the patio looks fine at install and develops a permanent low spot 18 months later.
French drains, surface runoff, and clay's role in winter rain
On hillside lots in Orinda and Moraga, surface grading alone isn't enough — subsurface water needs a managed exit path. A French drain (perforated pipe in a gravel trench, wrapped in filter fabric) installed at the patio perimeter intercepts water moving through the soil before it reaches the subgrade. Without it, winter rain saturates clay that has no fast drainage path, the clay swells, and the aggregate base gets pushed from below. The patio rocks. The joints open. Perimeter pavers tip outward first.
Clay's specific problem with winter rain isn't volume alone — it's timing. Contra Costa clay saturates quickly and drains slowly. A single heavy storm in January can keep a clay subgrade wet for three to four weeks. During that window, any load on the surface — even foot traffic — transfers unevenly to a softened base. That's why Orinda paver patios and Moraga hardscape work on sloped lots almost always include a French-drain component in the drainage spec. The same logic applies to Walnut Creek properties that back up to hillside terrain.
If your property also involves significant grade changes, a retaining wall paired with the patio drainage plan keeps soil movement contained on both sides of the structure.
Why Are Edge Restraints Critical for a Paver Patio?
Edge restraints prevent a paver patio from spreading outward under traffic and seasonal clay movement. Without them, a paver field walks 1/4 to 1/2 inch per year and the perimeter fails first.
The correct installation standard: PVC spike-down restraints installed with 10-inch galvanized spikes at 10-inch spacing. That spike length and spacing is what holds the restraint in place when clay-soil pressure pushes against the patio's perimeter during wet-season expansion. Shorter spikes pull out. Wider spacing allows flex. Either failure lets the perimeter creep, and once the perimeter moves, the whole field unlocks.
Edge restraint is the single most-skipped install detail on East Bay paver bids. It adds a few hundred dollars to a project and is invisible once the job is done — which makes it easy to omit on a competitive bid without the client noticing until 18 months later. What you see when it's missing: perimeter pavers that have separated from the field, joint gaps that open progressively outward, and a surface that rocks underfoot near the edges while the center stays stable.
Concrete borders are sometimes pitched as an alternative. They work for aesthetics but fail as a restraint mechanism on clay-soil lots — the concrete moves with the clay, and you end up with a border that's shifted as a unit rather than individual PVC restraints holding a flexible field in place. You can see how we integrate edge restraints into finished paver patio installations in our completed project gallery.
Polymeric vs. Regular Joint Sand: Which One Prevents Paver Patio Failure in Clay Soil?
Polymeric joint sand prevents paver patio joint failure in East Bay clay; regular silica sand washes out within 2–3 winters. The polymer forms a flexible bond that locks pavers laterally without going rigid — it moves with the paver field under thermal expansion and minor clay movement instead of cracking out. This is one of the highest-impact decisions in the entire paver patio installation process, and one of the most frequently underestimated.
Three products that perform in East Bay conditions: Techniseal HP NextGel, Alliance Gator Maxx, and SEK Pro. All three activate with water to form a semi-flexible binder in the joint. All three are rated for the wet-dry cycles common in Lamorinda winters.
The cost difference is real and worth understanding:
- Regular silica sand: approximately $0.40 per square foot to install
- Polymeric joint sand: approximately $1.20 per square foot to install
That $0.80/sf premium buys 3–4x the service life. Silica sand washes out, ant colonies move in, joints open, and pavers lose lateral restraint from below. When that happens on a clay-soil lot, you're paying to lift pavers, recompact settled areas, and resand — typically $8–15 per square foot for a partial repair, depending on how much disturbance the base took.
Polymeric joint sand needs maintenance, not replacement. The correct cadence: resand and reseal every 5–7 years. At year five to seven, surface sealer has degraded and the polymer in the joints has weathered enough to accept a fresh application. It's a half-day project on most residential patios, not a reconstruction.
If you're pairing a patio with an outdoor kitchen or fire pit, specify polymeric sand across the entire connected paver field — grease and heat cycling make silica sand failure happen even faster in those zones.
What DIY Paver Patio Installation Mistakes Cause Early Sinking?
Each of these mistakes produces visible sinking or shifting within 18 to 36 months on East Bay clay soil. The remediation costs below are what East Bay homeowners actually pay when a patio gets redone — not estimates pulled from national averages.
Skipping geotextile fabric over expansive clay. Fabric costs roughly $0.15–0.25 per square foot installed. Without it, clay fines migrate into the aggregate base within two to three wet seasons, contaminating the drainage layer and softening the base from below. Remediation requires lifting the entire patio, removing and replacing the base, and reinstalling — typically $18–25 per square foot.
Using decomposed granite as base aggregate. DG is a landscaping material, not a structural base. It doesn't compact to the density required for a load-bearing paver base, and it softens when wet. Class II crushed aggregate (3/4-inch minus, angular) is the correct material per ICPI Tech Spec 2 — it interlocks under compaction and holds density when saturated. Swapping DG for Class II costs roughly $1.50–2.50 more per square foot in material. Fixing a DG-based patio after two years costs far more.
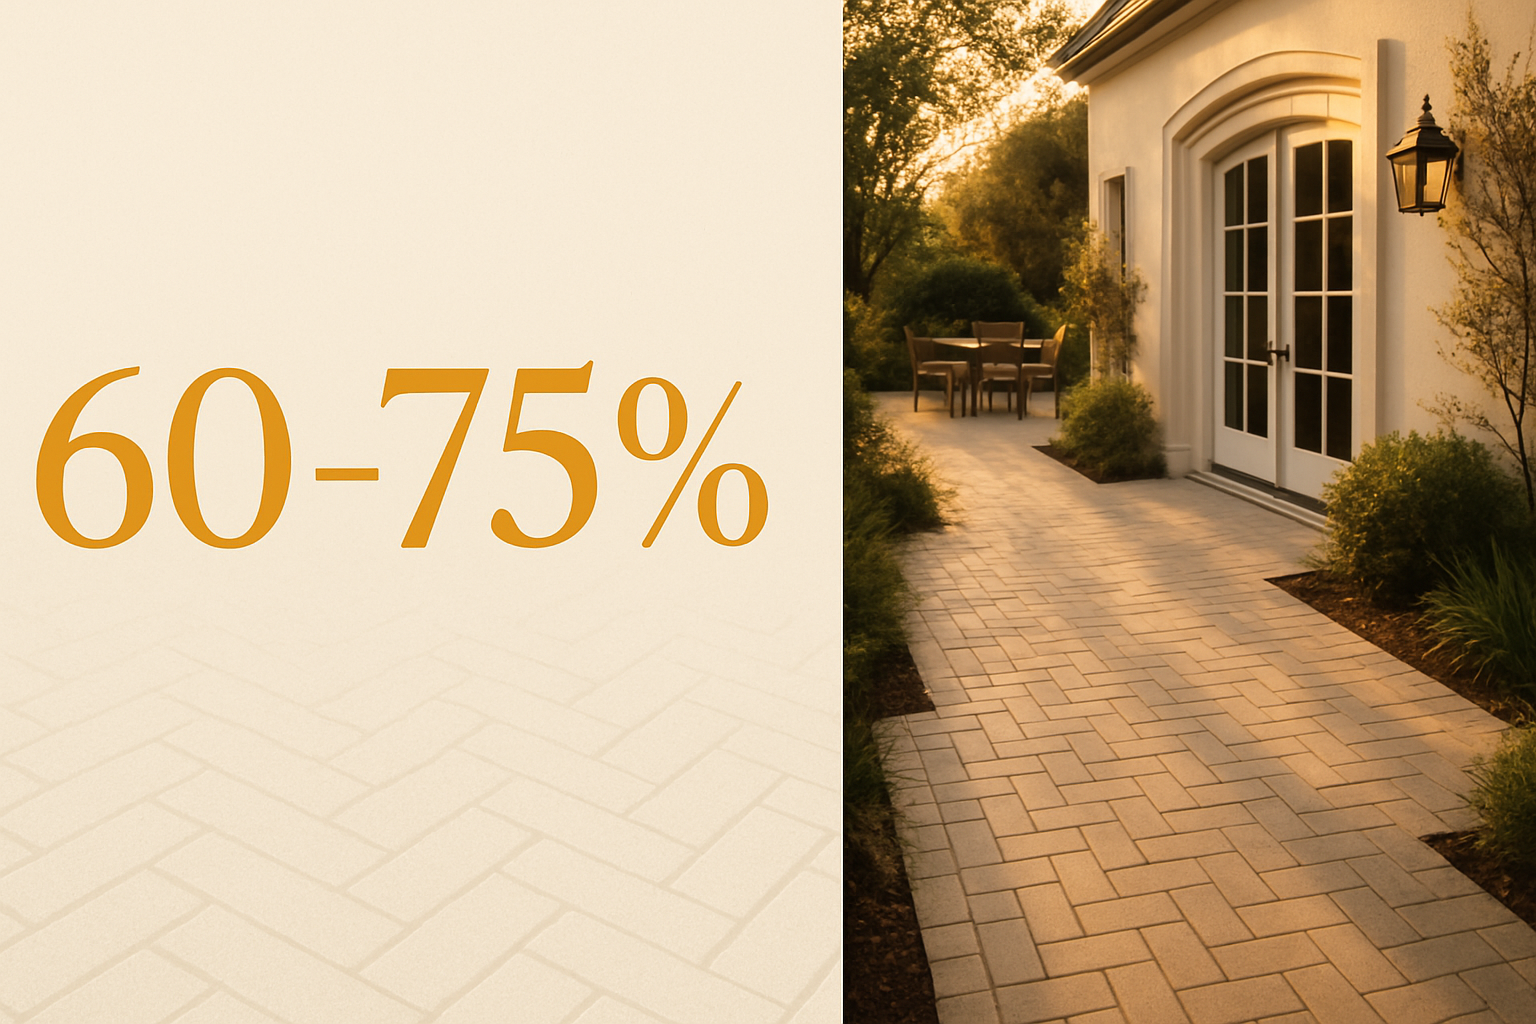
Compacting with a hand tamper instead of a vibratory plate compactor. A hand tamper achieves 70–80% of required base density at best. A vibratory plate compactor reaches 95%+ in each 3-inch lift, which is what ICPI Tech Spec 2 requires for pedestrian and light-traffic surfaces. Post-install settlement from under-compaction shows up as a uniform subsidence — the whole patio drops — rather than the localized sinking caused by soil movement.
Mortaring joints instead of using joint sand. Mortared joints trap moisture at the joint base and prevent the paver field from moving as a unit under thermal expansion and clay pressure. The result is cracked mortar within one to two seasons, open joints that channel water directly into the base, and accelerated damage at clay-movement boundaries. Interlocking concrete pavers are engineered to flex as a system — mortar defeats that behavior.
Flat-grading instead of pitching toward drainage. A perfectly level patio looks right in the moment and fails gradually. Water pools, saturates the subgrade, clay expands unevenly, and the flat surface develops a rocking low point wherever drainage is worst. Correcting grade after the patio is installed requires a full lift-and-relay — $15–22 per square foot depending on paver type and field complexity.
These same mistakes appear in paver driveway installations and pool deck projects — anywhere interlocking concrete pavers sit over clay subgrade, the base prep principles are identical.
What Maintenance Schedule Keeps a Paver Patio Level for 25+ Years?
A properly installed paver patio on East Bay clay soil doesn't need constant intervention — it needs the right attention at the right intervals. Here's the realistic arc:
Year 1: Walk the patio after the first wet season. Look for edge separation, joint-sand washout, or any low spots that weren't present at install. This is the window where any workmanship issues surface — and the time when a warranty matters. Lamorinda Pavers backs paver patio installation across Lafayette, Moraga, Orinda, and Walnut Creek with a 5-year workmanship warranty, so any base or grading issues discovered in year one are covered.
Year 3: Visual joint sand check. Run your hand across the joints — they should feel flush and firm. If you see gaps wider than 1/8 inch or areas where sand has clearly washed, spot-treat with polymeric sand before the next wet season. Catching it at year three prevents joint failure from propagating across the field.
Year 5–7: Full polymeric resand and reseal. Surface sealer has degraded through UV exposure and wet-dry cycling; polymeric sand in the joints has weathered. A full reseal restores water repellency, refreshes the joint binder, and gives you another 5–7 years of protection. Budget $3–6 per square foot for professional reseal depending on patio size and product used.
Year 10: Walk the patio systematically and probe for any soft spots or rocking pavers. On a correctly installed base, this should find nothing — or at most one or two isolated pavers near a downspout or irrigation head that need re-leveling. Re-leveling isolated pavers (lift, add bedding sand, relay, tamp, resand) runs $200–500 for a small section and doesn't require disturbing the rest of the field.
Year 20+: Cosmetic refresh if the paver surface has faded significantly. Some homeowners reseal at this point primarily for color; others let the natural weathering stand. The structural integrity of a correctly built patio at 20 years should be indistinguishable from year five.
A paver patio doesn't maintain itself forever — but the maintenance it does need is predictable, low-cost, and completely unlike the unpredictable repair cycle of cracked concrete. That's the core structural advantage of interlocking concrete pavers: individual units replace without disturbing the field, and the system tolerates minor clay movement rather than cracking through it. Explore what a full outdoor transformation looks like in our completed paver projects — patios, driveways, walls, and drainage work across the East Bay.
Frequently Asked Questions
Why is my paver patio sinking?
Paver patio sinking is caused by one or more of these: insufficient base depth over expansive clay, missing geotextile fabric that allowed clay to contaminate the aggregate, poor grading that holds water against the subgrade, absent or failed edge restraints, or standard silica sand in the joints that has washed out. The paver itself almost never fails — the system beneath it does. Identifying which cause applies to your specific patio determines whether you need spot repair or a full base rebuild.
How deep should the base be for a paver patio in clay soil?
In East Bay clay soil — Lafayette, Moraga, Orinda, Walnut Creek, and surrounding Contra Costa lots — the correct base depth is 6–8 inches of compacted Class II aggregate installed in 3-inch lifts over non-woven geotextile fabric. That's consistent with ICPI Tech Spec 2 (Construction of Interlocking Concrete Pavements) guidelines for expansive-soil conditions. The 4-inch minimum in general paver specifications applies to stable, well-draining soil — not the clay-heavy lots common across Lamorinda.
How long do paver patios last?
A paver patio with correct base prep, edge restraints, and polymeric joint sand lasts 25 to 30 years with routine maintenance. Individual pavers can be replaced if damaged without disturbing the rest of the field — a structural advantage concrete doesn't offer. The 25-year figure assumes the 5-to-7-year reseal cadence and periodic joint sand maintenance described above.
Can sunken pavers be fixed without redoing the whole patio?
Yes — if the base itself is intact. Isolated sunken sections can be repaired by lifting the affected pavers, re-grading the bedding sand layer, re-laying the pavers, and resanding the joints. If the base aggregate has been contaminated by clay migration or has lost density due to water saturation, the repair requires replacing the base in that section — more involved, but still not a whole-patio redo. A contractor who won't assess the base before quoting a repair is guessing at scope. See our completed paver projects for examples of both repair types.
Does polymeric sand prevent paver patio shifting?
Polymeric sand prevents lateral joint failure — it locks pavers in place horizontally by binding the joint material into a semi-flexible mass. It doesn't substitute for edge restraints or adequate base prep. Think of it as the last line of lateral defense: edge restraints hold the perimeter, base prep holds the field vertically, and polymeric joint sand holds each paver against its neighbor. All three components work together; none replaces the others.
How much does it cost to fix a sunken paver patio?
Spot repair of isolated sunken pavers (lift, re-level bedding sand, relay, resand) typically runs $400–900 for a small section in the East Bay market. Partial base repair — where aggregate must be removed and replaced in a 20–40 square foot area — runs $1,200–2,500 depending on depth and access. Full patio removal, base rebuild, and relay is priced by square footage: typically $18–28 per square foot in the East Bay, depending on paver type, base spec, and drainage work required. A soil assessment before agreeing to scope is how you avoid paying for a full rebuild when spot repair would have held.
Plan Your 2026 Patio with a Free On-Site Estimate
If you're planning a paver patio installation in 2026 and want to know exactly what base prep your specific lot requires, request a free on-site estimate. Lamorinda Pavers will walk the property, dig a test pit to assess soil conditions, measure grade, and return a fixed-price proposal within 48 hours — with the base depth, drainage spec, edge-restraint plan, and 5-year warranty terms in writing.
Lamorinda Pavers builds paver patios on the expansive-clay lots common in Lafayette, Moraga, and Orinda — and we're familiar with the drainage patterns, soil conditions, and grading constraints specific to each neighborhood. Lafayette patio projects often require a deeper base spec and French-drain component. Orinda paver patios on hillside lots need additional grading analysis. Moraga hardscape work on clay slopes involves subsurface drainage that doesn't show up on a standard bid. We also serve Walnut Creek, Danville, and surrounding Contra Costa communities — see the full service area.
The proposal we send names every spec. No open-ended line items. Contact us to schedule your estimate.