The Short Answer
A great paver patio installation takes four days and five phases: site assessment, excavation and grading, base aggregate compaction in 3-inch lifts, paver placement with edge restraints, and polymeric jointing. Each phase has at least one step that shortcut installers skip — and each skipped step produces a specific, predictable failure within 18 to 36 months.
A typical East Bay paver patio install takes 4 days. The homeowner verification checklist in the "How Can a Homeowner Verify Each Phase" section below tells you exactly what to confirm at each phase so you're not guessing after the fact.
What Happens Before Day 1 — Site Assessment, Soil Testing, and Design Decisions
The work that determines whether a paver patio lasts 25 years happens before any tool hits the ground. A proper pre-install assessment isn't a formality — on East Bay clay lots, it's where the whole base spec gets set, the drainage path gets mapped, and the pattern choice gets locked against the correct excavation depth.
Walking the Lot and Identifying Drainage Constraints
Drainage constraints get identified first — before excavation depth, before pattern selection, before anything else. A competent crew walks your property and reads it: where does water pool after a storm, where does runoff from an uphill neighbor cross your lot, and are there downspouts discharging near the patio footprint?
On a sloped Lafayette property along Happy Valley Road, those answers determine whether the job needs a French drain, a catch basin, or simply a steeper pitch in one quadrant. A Walnut Creek patio install on a flat lot near the downtown corridor has different drainage math than an Orinda hillside property — but both need the drainage path mapped before excavation begins. Skipping this walk is how crews end up cutting drainage into a design that can't accommodate it, or grading a patio that holds water against the house. If drainage work is needed, it belongs in the original bid — not in a change order after excavation starts.
Soil Testing: Why East Bay Clay Changes Everything
The subgrade is the native soil beneath a paver installation, after topsoil has been removed. In most of Lamorinda — and across a wide swath of Contra Costa — that subgrade is expansive clay. Expansive clay is soil that swells when wet and shrinks when dry, with seasonal volume change of 5–10%. A quick soil test (or a test pit dug to subgrade depth) tells a crew whether they're working in stable sandy loam or in clay that needs a deeper base, geotextile fabric, and a drainage component.
ICPI (the Interlocking Concrete Pavement Institute) is the U.S. trade body that sets installation standards for interlocking concrete pavers. Their reference document, ICPI Tech Spec 2 (Construction of Interlocking Concrete Pavements), explicitly calls for increased base depth on expansive, poor-draining soils — which is exactly what the Orinda hills, Moraga's clay slopes, and most of the Lamorinda corridor deliver.
6–8 inches of compacted Class II aggregate in 3-inch lifts is the proven base spec for East Bay clay-soil patios.
Choosing Pattern, Color, and Material — and What Your Sub-Base Needs to Support It
Pattern selection affects base depth — it's not purely aesthetic. A 45-degree herringbone pattern requires 1 to 2 inches more base depth than a running bond or stack bond layout. Herringbone transfers load diagonally across the paver field, which amplifies any base inconsistency. It's one of the most structurally stable patterns for a patio or paver driveway, but on a clay lot it demands the deeper spec. Running bond and basket weave patterns are more forgiving of minor bedding-sand variation, though they still need the full base treatment on East Bay clay.
Material choice interacts with base prep differently, too. Porcelain pavers are heavier per square foot than interlocking concrete pavers and have zero water absorption — which means bedding-sand drainage matters more, not less. Natural stone varies in thickness and needs careful screeding. Get the material choice locked before excavation so the crew knows exactly what depth to dig to. Those decisions also feed into your broader landscape design — if the patio is part of a larger hardscape project, they all need to be coordinated before the first shovel goes in.
Day 1 — Excavation, Grading, and Geotextile Installation
Day 1 sets every dimension that follows. Topsoil and any existing material are removed to 10–12 inches below finished grade — deeper on hillside lots in Orinda and Moraga where the full 8-inch compacted depth plus extra buffer for the 1-inch bedding-sand layer and paver thickness are required. That total stack (subgrade → geotextile → 6–8 inches base → 1 inch sand → paver) determines the dig depth. Get it wrong and finished grade is either proud of the lawn or sunk below it.
Once at depth, the subgrade gets graded at 1 inch of fall per 8 feet, directed away from the house. This isn't optional on East Bay clay — a flat or reverse-pitched subgrade holds water against the structure through the entire wet season.
Geotextile fabric is a non-woven synthetic membrane that prevents clay from migrating up into the base aggregate. It goes across the entire excavated footprint, lapped 12 inches at seams, with edges folded up against the excavation walls. No gaps. No spot coverage. Every inch of the subgrade gets covered because every inch is in contact with clay that will try to migrate upward through seasonal wet-dry cycling.
End-of-day homeowner verification: The subgrade should be smooth, visibly sloped away from the house, and fully covered with geotextile — no bare clay showing, no overlap gaps under 12 inches. Photograph it before base aggregate goes in. That photo is your documentation that the fabric was installed correctly if questions arise later.
Day 2 — Base Aggregate Compaction (The Phase Bad Installers Skip)
Base aggregate compaction is the phase that separates a 25-year patio from a 5-year repair project — and it's the phase most low-bid contractors cut short. Class II road base (3/4-inch minus, angular-crush aggregate) goes in at 6–8 inches total compacted depth, installed in 3-inch lifts — not dumped all at once. Compacting in lifts is non-negotiable: each layer must achieve 95%+ density before the next one goes down, and you can't compact 8 inches of loose aggregate to uniform density in a single pass.
Each 3-inch lift gets plate-compacted with a vibratory plate compactor. The correct equipment for East Bay paver base work is a Wacker Neuson WP1550 or equivalent machine.
Minimum plate-compactor force for paver base work is 3,500 lbs of vibratory force.
A smaller machine doesn't generate enough force to reach the bottom of a 3-inch lift, which means the lower portion stays under-compacted and settles post-install. This is the spec called out in ICPI Tech Spec 2 — not a preference, a standard.
Each lift gets 4–6 passes with the plate compactor, alternating directions — north-south passes followed by east-west passes on the next round.
Alternating directions catches compaction shadows that single-direction passes leave behind. Then the next lift goes down and the process repeats.
The difference between correct plate compaction and hand-tamper compaction is the difference between a base that stays rigid under load and one that slowly deforms. A hand tamper achieves 70–80% of required density at best. At 70% density, the base compresses slightly under repeated traffic — not enough to see right away, but enough to cause differential settlement within two seasons on an Orinda or Moraga clay lot. This is also why the sinking and shifting prevention failures you read about almost always trace back to Day 2.
End-of-day homeowner verification: Walk the compacted base and tap the surface with a hammer — it should ring solid, not thud. Stand on it: no footprint impression under your full body weight. If you sink even slightly, the surface density isn't there yet.
Day 3 — Bedding Sand, Paver Placement, and Edge Restraints
Day 3 is where the paver patio installation becomes visible — but the work that matters most on this day is still below the surface.
A 1-inch layer of ASTM C33 concrete sand gets screeded across the compacted base. ASTM C33 is the U.S. specification for concrete sand — a clean, coarse, angular sand that holds its position under the weight of pavers and drains freely when water infiltrates the joint. Do not substitute play sand or fine silica sand. Fine sand loses its screeded profile the moment a paver compresses it unevenly, which creates a rolling surface that's nearly impossible to correct without lifting the field.
Screeding is done with straight-edged rails set to the 1-inch depth. The bedding sand layer does not get compacted — it stays loose and screeded so pavers can be set into it at consistent depth. Once screeded, don't walk on it before paver placement begins.
Pavers go down hand-tight — each unit placed against its neighbors with no gap and no tapping to seat. Tapping creates uneven bedding compression that shows up as high and low spots across the field. Edge cuts are made with a wet saw, not a guillotine splitter. A guillotine can cut pavers in under ten seconds; a wet saw takes longer and produces a precise, tight cut edge that fits cleanly against the border. On curved edges and on paver pool decks, that precision difference is immediately visible.
Industry level tolerance for a paver patio is 1/4 inch of deviation over an 8-foot span.
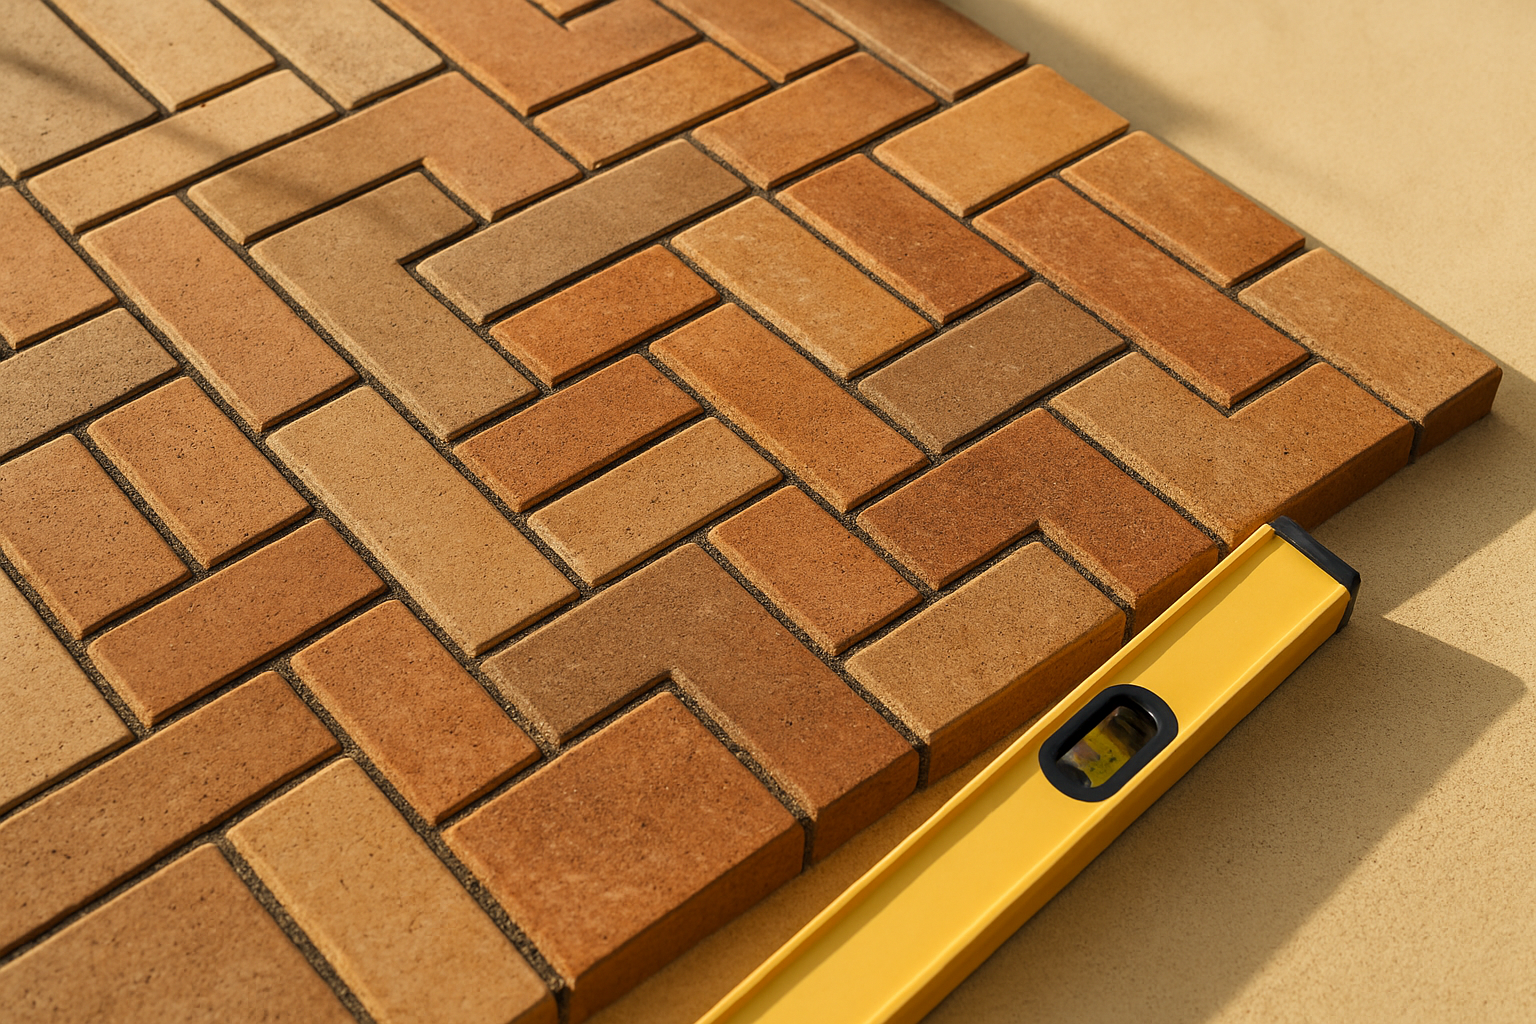
Verify this during Day 3 with a 6-foot mason's level walked across the field in three directions — two diagonals and one straight-line center pass. Anything over 1/4 inch deviation gets addressed before edge restraints go in.
PVC edge restraints get installed around the entire perimeter after the field is set and verified level. Correct installation: 10-inch galvanized spikes at 10-inch spacing, driven fully flush. Shorter spikes pull out under seasonal clay pressure. Wider spacing allows flex at the perimeter, which lets the field edge walk outward — typically 1/4 to 1/2 inch per year on East Bay clay without adequate restraint. Once it walks, you can't push it back without lifting the entire perimeter section. The same edge restraint standard applies whether you're installing a paver patio, a pool deck, or a driveway — the clay doesn't care what's sitting on top.
Day 4 — Polymeric Sand, Final Compaction, and Homeowner Walk-Through
Day 4 finishes the paver patio installation and locks the system together.
Polymeric sand — Techniseal HP NextGel or Alliance Gator Maxx are the two products with a consistent performance record in East Bay wet-dry cycling conditions — gets swept fully into joints in two passes, then brushed off the paver surface completely. Sand left on the surface after wetting hazes the paver face and requires mechanical removal. It's a ten-minute step that installers who are rushing skip.
Once swept in and brushed off, the sand activates with a fine water mist in three passes — not a flood. Flooding washes polymer out of the joint before it binds. The correct technique is a fine spray that penetrates the joint without displacing material. Wait for visible surface moisture to absorb between passes.
Avoid polymeric sand installation in temperatures above 80°F. In high heat, the polymer activates too fast before water can fully penetrate the joint depth, leaving the lower portion of each joint under-bonded.
Avoid polymeric sand installation within 24 hours of a rain forecast. Rain on fresh polymer sand before cure is complete washes the binder out of the joint — you end up with expensive silica sand and no polymer bond.
24-hour cure window before any foot traffic. 48 hours before furniture. Both numbers assume temperatures between 50–75°F. Cooler weather slows cure.
After the sand activates and before cure completes, the crew runs a final plate-compaction pass over the entire field with a foam-padded shoe attached to the plate to prevent surface scoring. This seats each paver firmly into the bedding sand layer and closes any minor joint variation that opened during paver placement.
The homeowner walk-through at the end of Day 4 covers five things: level verification with the mason's level, edge restraint spike inspection, joint-sand fill confirmation (joints should look fully packed, not hollow), drainage pitch check with a water hose, and written review of warranty terms. Lamorinda Pavers backs paver patio installation across Lafayette, Walnut Creek, and Orinda with a 5-year workmanship warranty — that document gets signed and handed over at the walk-through, not mailed two weeks later.
What Does "Level" Mean for a Paver Patio (and How Do Good Installers Verify It)?
Industry level tolerance for a paver patio is 1/4 inch of deviation over an 8-foot span. Tighter than that pools water at low joints; looser is a tripping hazard over time.
Good installers verify levelness with a 6-foot or 8-foot mason's level walked across the field in a pattern that covers the whole surface — think three overlapping X lines spanning the patio's length and width. That pattern catches high and low spots that a single straight-line pass misses, including the bowl-shaped settling that develops when base compaction is uneven across a field.
Most paver patio install failures show up as deviations greater than 1/2 inch within 18 months. That's the threshold where a flat surface develops a noticeable rock underfoot or a visible dip visible from a chair. At 1/4 inch or less, the surface feels solid and reads flat from every angle.
Levelness is also where drainage and aesthetics interact. A patio that's level in the absolute sense — zero pitch in any direction — pools water. Correct "level" for a patio means consistently pitched at 1 inch per 8 feet toward a drainage edge, with less than 1/4 inch of random deviation around that pitch line. When Lamorinda Pavers completes a Walnut Creek patio install or a hillside project in Lafayette, this graded pitch is what we verify before the walk-through hose test. A surface that pools is a grading failure, not a cosmetic issue.
How Can a Homeowner Verify Each Phase of a Paver Patio Install?
Every phase of a paver patio installation has a verifiable checkpoint — and asking for verification isn't adversarial, it's the same due diligence you'd apply to any significant home project. Here's what to confirm, in order:
Ask to see the test pit depth before excavation is complete. The hole should reach 10–12 inches below your planned finished grade. Photograph it with something for scale.
Photograph geotextile coverage before base aggregate goes in. Fabric should cover the full footprint with no bare spots and 12-inch overlaps at seams. Once base goes in, you can't verify it's there.
Photograph each base lift after compaction. Three lifts means three rounds of photos. Ask the crew to tell you when each lift is down and compacted before the next one starts.
Ask which polymeric sand brand is being used and confirm it before install. Techniseal HP NextGel and Alliance Gator Maxx are both proven in East Bay conditions. Generic or private-label polymeric sand is not a substitute.
Ask before Day 3 what sand product they're using for bedding. The answer should be ASTM C33 concrete sand. "Sand" or "fine sand" without a spec is a yellow flag.
Ask the installer to walk a 6-foot level across the finished surface in front of you. Any point showing more than 1/4 inch of deviation over 8 feet should be addressed before you sign off on the work.
Verify edge restraint type and spike length before installation. PVC spike-down restraints with 10-inch galvanized spikes at 10-inch spacing is the correct spec. Ask to see the spikes and the spacing before they're driven.
Get the warranty terms in writing before final payment. A 5-year workmanship warranty should name what's covered (base settling, edge restraint failure, surface movement) and what's excluded. Verbal warranties aren't warranties.
Run a hose over the finished surface and watch where water goes. Water should move cleanly away from the house toward the drainage edge. Any pooling in the field or against the foundation is a grading issue that's far cheaper to fix today than after the warranty conversation.
You can see how all of this comes together by browsing completed Lamorinda paver projects — including finished patios in Lafayette, Orinda, and Walnut Creek where the base spec and drainage work are documented. If you're earlier in the planning process, the full services overview gives you a sense of how patio work integrates with retaining walls, outdoor kitchens, and other hardscape.
What Happens When a Paver Patio Install Gets Disrupted?
A 4-day paver patio install can stretch to 5–7 days when weather, soil surprises, or buried utilities require the crew to adapt. That's not a planning failure — it's what honest sequencing looks like on East Bay lots that weren't built to be perfectly predictable.
The most common disruptions, and what a good crew does with each:
Rain during excavation or base install. Wet subgrade loses its compactability. If rain saturates the excavated subgrade before geotextile and base go in, the correct move is to wait — not compact wet clay and cover it. Compressed wet clay rebounds when it dries, pushing the base from below. A crew that pushes through is setting up the kind of failure you won't see for 18 months. Sinking and shifting after a wet winter is almost always traceable to this decision.
Discovering an old slab. Concrete or asphalt buried under the existing surface is common on Lamorinda properties with patios built and covered over multiple renovation cycles. Slab removal adds a day and requires a concrete saw, a dumpster, and a reassessment of excavation depth.
Hidden irrigation or utilities. The Orinda hills and older Lafayette paver work sites have irrigation lines, low-voltage lighting cables, and drainage pipes in places no as-built drawing captures. A competent crew hand-digs the last 2 inches to finished subgrade near any utility markings and calls for a re-mark if something turns up. Projects that also include retaining walls or outdoor kitchens carry additional buried-utility risk — all of it gets mapped before excavation.
Clay wetter than expected. Even a good soil test is a sample — a wide clay lot can have pockets that drain poorly and stay saturated well into spring. If the test pit showed manageable clay but excavation reveals a saturated zone, the correct spec changes: deeper base, additional geotextile, possibly a subsurface drain added to the original plan.
Every Lafayette paver work bid from Lamorinda Pavers carries a 10–15% contingency for buried-condition surprises. That number is built into the fixed-price proposal so you're not fielding a change-order call mid-project when a buried condition turns up. The contingency either gets used or it doesn't — but you know about it upfront. Learn more about how Steve runs Lamorinda Pavers and why fixed-price proposals are a core part of the process.
Frequently Asked Questions
How long does it take to install a paver patio?
A standard residential paver patio installation takes 4 days under normal East Bay conditions: one day for excavation and grading, one day for base aggregate compaction, one day for bedding sand and paver placement, and one day for polymeric sand and finishing. Add a day for significant drainage work or buried obstacles. Add another if rain interrupts the base compaction window. A contractor quoting a one- or two-day install on a clay lot is either working very small square footage or skipping the base prep the job actually needs.
What does paver patio installation involve step by step?
Paver patio installation involves five phases. (1) Site assessment: walk the lot, test the soil, map drainage. (2) Day 1: Excavate to 10–12 inches below finished grade, grade subgrade at 1 inch per 8 feet, install non-woven geotextile fabric with 12-inch overlaps. (3) Day 2: Install 6–8 inches of Class II road base in 3-inch lifts, plate-compact each lift to 95%+ density with a minimum 3,500-lb vibratory compactor. (4) Day 3: Screed 1 inch of ASTM C33 bedding sand, set pavers hand-tight, install PVC edge restraints with 10-inch galvanized spikes at 10-inch spacing. (5) Day 4: Sweep and activate polymeric joint sand, run final compaction pass, complete homeowner walk-through and warranty sign-off.
What's the difference between cheap and expensive paver patio installation?
The price gap between a low-bid install and a spec-correct install in the East Bay typically runs $8–14 per square foot. That difference is almost entirely base preparation: aggregate depth (4 inches vs. 6–8 inches), compaction equipment (hand tamper vs. vibratory plate compactor at 3,500 lbs minimum), and joint sand (plain silica vs. polymeric). The pavers themselves are usually the same product. The cheap install looks identical for the first one to two seasons — then base compression and clay movement start showing up as rocking surfaces, perimeter separation, and joint-sand washout.
How do I know if my paver patio is being installed correctly?
Nine checkpoints confirm a correct paver patio installation: test pit depth at 10–12 inches below finished grade, geotextile coverage photographed before base goes in, three-lift base with visible compaction after each lift, ASTM C33 bedding sand (not play sand), pavers placed hand-tight without tapping, wet-saw cuts on perimeter pieces, PVC edge restraints with 10-inch galvanized spikes at 10-inch spacing, named-brand polymeric sand (not generic), and a 6-foot level walk showing under 1/4 inch deviation across the finished field. If a contractor refuses any of these verification steps, that's your answer.
What's the best time of year to install a paver patio in the East Bay?
April through October is the safest installation window — dry enough for reliable polymeric sand cure, warm enough for normal compaction. Late spring (April–May) and early fall (September–October) are ideal: temperatures stay under 80°F, rain is unlikely, and winter soil moisture has dried to workable levels. Summer is workable, but polymeric sand shouldn't be activated above 80°F. Winter installs aren't impossible, but wet subgrade and rain forecasts within 24 hours of polymeric application are genuine constraints that can stretch a 4-day paver patio installation to 7 days or more.
Can I install a paver patio myself?
On a stable, flat lot with sandy soil and modest square footage, a skilled DIYer can produce a serviceable result. On a Lafayette, Moraga, or Orinda clay lot, base preparation is where DIY installations fail — and it's the hardest part to get right without a vibratory plate compactor, a laser level, and experience reading soil conditions. Renting equipment is possible. Knowing whether your subgrade needs geotextile, how wet is too wet to compact, and whether a drainage constraint requires a French drain is harder to rent. The rebuild cost for a DIY patio that fails at the base ($18–25 per square foot for a full reinstall) typically exceeds what professional installation would have cost.
Plan Your Patio Install with a Fixed-Price Proposal
Now that you know exactly what a correct paver patio installation looks like — phase by phase, lift by lift, spec by spec — the next step is finding the contractor who actually does it that way.
Request a free on-site estimate from Lamorinda Pavers. We'll walk the property, dig a test pit to assess your soil conditions, measure and map your drainage constraints, and return a fixed-price proposal within 48 hours. That proposal names the base depth, lift count, compactor spec, polymeric sand brand, edge restraint type, and warranty terms — in writing, before you commit to anything. No open-ended line items. No vague bids.
Lamorinda Pavers crews install paver patios across Lafayette, Walnut Creek, and Orinda using this same four-day phase structure. Every install is backed by a 5-year workmanship warranty covering base settling, edge restraint failure, and surface movement. See completed Lamorinda paver projects to review finished installs with documented specs, or contact us to schedule your on-site estimate. If you're in Danville or the broader Contra Costa corridor, we work there too — same spec, same warranty, same crew.