The Short Answer
Fixing uneven driveway pavers caused by drainage means matching the repair to the failure mode — pooling water needs regrading or a surface drain; washed-out joint sand needs polymeric resanding; settled pavers need lifting, base supplementation, and reset. The 4-step homeowner diagnosis (puddle-map, joint inspection, edge restraint check, hollow-spot test) tells you which fix you need before any work begins. Skipping the diagnosis and going straight to a repair is how homeowners spend $3,000 on a resand that fails again within two winters because the base was never addressed.
For the full background on how driveway paver installation problems originate during construction, the 11 driveway install mistakes covers each shortcut and its time-to-failure. And if you're not yet sure whether you're looking at sinking versus lateral shifting, sinking vs. shifting mechanisms helps you tell the difference before you call anyone.
When You Can DIY Paver Driveway Drainage Fixes (and When You Can't)
East Bay homeowners can DIY a driveway paver drainage repair when the affected area is under 30 square feet, the underlying base is sound, and the fix is at the surface — resanding, snug-resetting individual pavers, or installing a minor surface drain. Anything that requires base intervention, regrading, or French drain work needs a pro.
The line isn't arbitrary. Surface repairs — polymeric resand, individual paver re-seating, a single channel drain — don't require excavation, compaction equipment, or drainage routing knowledge. Base repairs require a plate compactor, Class II aggregate, and the ability to re-establish grade accurately across a larger area. Getting that wrong produces the same failure you started with, plus the cost of doing it twice.
DIY-appropriate repairs on East Bay driveways:
- Polymeric joint sand resand on sound joints in areas under 600 square feet
- Individual paver re-seating (3–5 pavers) where the base beneath is solid on the hammer-tap test
- Minor surface channel drain installation at a single low point
Pro-appropriate repairs on East Bay driveways:
- Any base supplementation or recompaction
- Regrading more than a few square feet
- French drain routing on Lafayette, Orinda, or Moraga hillside lots
- Any repair where hollow base spots appear on the tap test
- Grade corrections exceeding 2 inches of elevation change
On hillside lots in Lafayette along Happy Valley Road, or in the Orinda hills above Route 24, drainage problems routinely involve uphill runoff sources that can't be solved at the driveway surface. Those repairs are drainage engineering, not landscape maintenance. The driveway paver diagnostic guide covers how to read which failure mode is active before any contractor conversation.
Step 1: Diagnose Where Water Is Actually Going (The Puddle-Map Exercise)
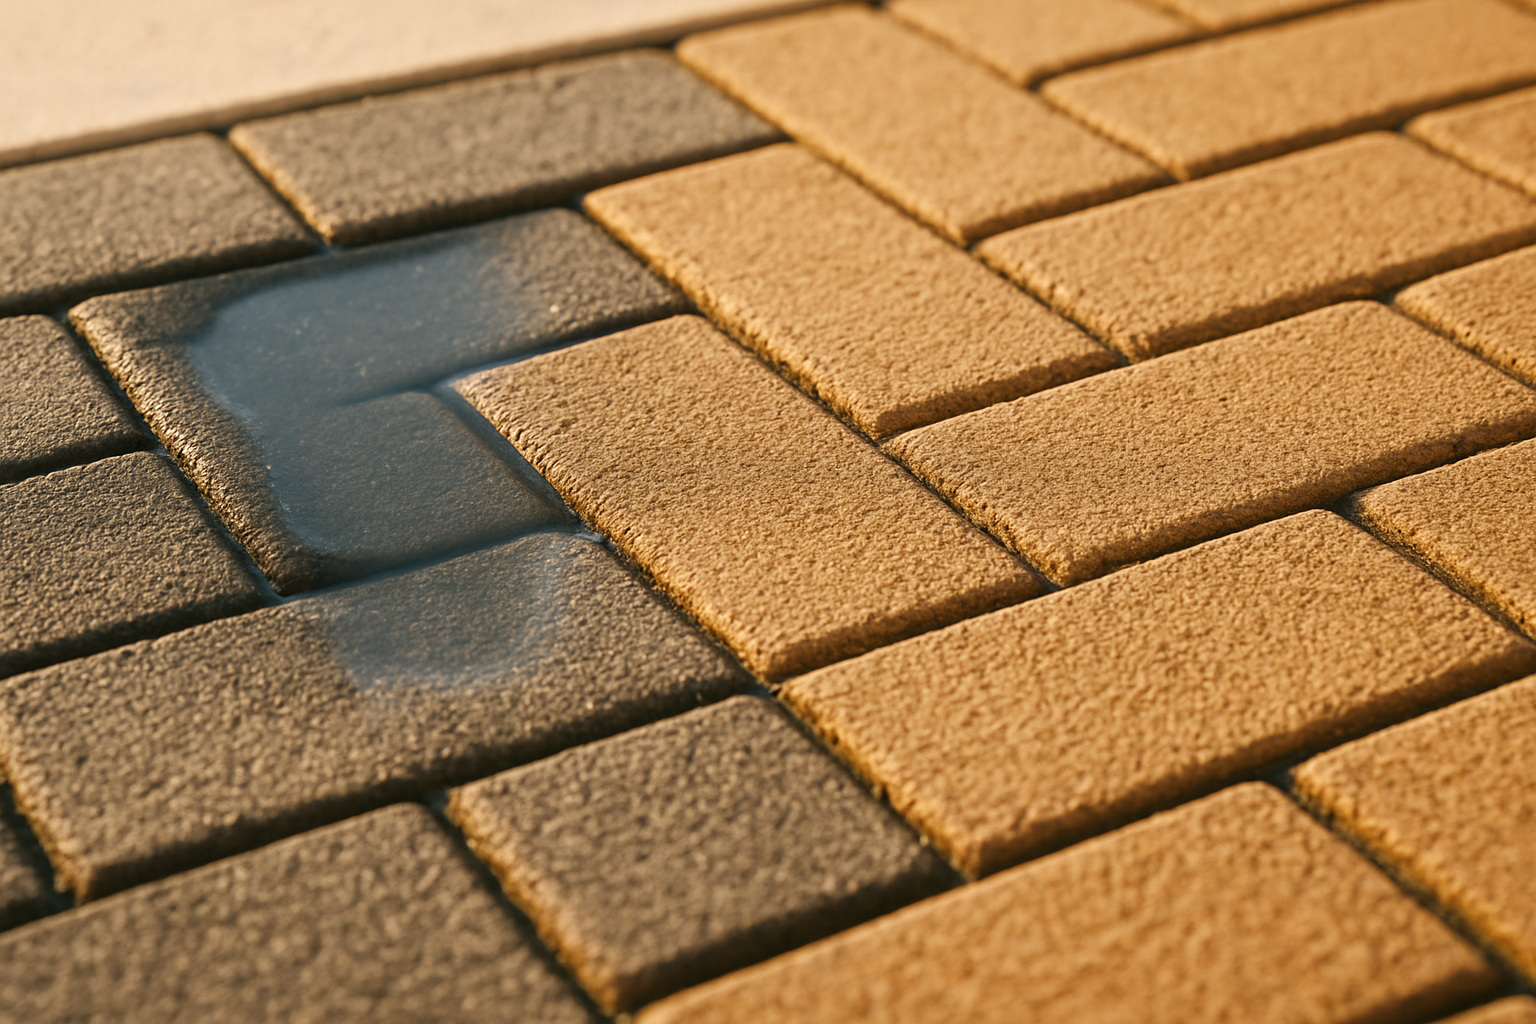
Before any repair, map where water actually flows on your driveway during a hard rain — the puddle pattern tells you whether the failure is grading, joints, or base, and where to focus the fix.
The puddle map is the most diagnostic 20 minutes you'll spend on this project. Here's the procedure:
- During or immediately after a 1/2-inch or greater rainfall, photograph the driveway from the highest angle you can manage — a second-story window works well. Capture every pooling location.
- On a hand-sketched driveway plan, mark each puddle and note estimated depth: under 1/8 inch (sheen), 1/8 to 1/2 inch (visible pool), over 1/2 inch (standing). Depth matters — anything over 1/4 inch that persists more than 30 minutes after rain stops indicates a drainage slope problem, not just a wet surface.
- Run a garden hose at the highest point of the driveway for 60 seconds at moderate flow. Track where water goes: does it sheet toward the street or landscaped edge, or does it pool and stall?
- Compare the rain puddle map to the hose flow map. If they match — water pools in the same spots under both tests — the problem is surface grading. If the hose water sheets fine but rain produces pooling, joints are absorbing rainfall and slowing runoff, which means joint failure is compounding a marginal slope.
The puddle map distinguishes surface-grading failures (water sits where it lands) from joint-failure absorption (water vanishes through the joints, then resurfaces as base saturation). Both produce uneven driveway pavers — through different mechanisms requiring different fixes.
Step 2: Inspect Joint Sand Condition Across the Driveway
Probe each joint with a flat-blade screwdriver — joints with sand below the paver chamfer indicate washout; joints with hairline cracks in the polymer indicate cure failure; joints that crumble under light pressure indicate end-of-life polymeric sand needing full reseal.
Polymeric joint sand is a blend of fine sand and polymer binders that hardens when activated with water, creating a firm, flexible joint that resists washout and weed intrusion. Vehicular-rated formulations — specifically Techniseal HP NextGel and Alliance Gator Maxx — are engineered for the compression-and-rebound cycling that vehicle tires generate daily. Patio-grade polymeric is not an acceptable substitute on a driveway.
Work the screwdriver into every joint zone across the driveway, not just the suspect area. What you find:
- Solid resistance at 1/8 inch or less — joint sand is intact and sound. This joint isn't contributing to driveway paver drainage repair needs.
- Easy penetration to 1/4 inch or deeper — sand has washed below the chamfer. Water is infiltrating through this joint freely. These joints need resand.
- Hairline cracks visible in the polymer surface — the binder has cured but is past its service life or was activated incorrectly. Resand and reseal within 6 months.
- Crumbling under light screwdriver pressure — polymeric is past its 7-year service window or was never vehicular-rated. Full resand with vehicular-rated product required.
Polymeric joint sand on East Bay paver driveways needs resand and reseal every 5–7 years. If you don't know when yours was last done and the joints crumble under the screwdriver test, you're already past due. For context on how joint sand failure interacts with broader driveway paver installation problems, the driveway paver diagnostic guide covers the full picture.
Step 3: Check Edge Restraints Around the Entire Perimeter
Walk the perimeter of the driveway and inspect for visible edge restraint gaps, paver migration beyond the original alignment, or perimeter pavers tilting outward — these signal that lateral water seepage is undermining the base from the edge inward.
The correct specification for a residential paver driveway is PVC spike-down edge restraint with 10-inch galvanized spikes at 10-inch spacing, continuous around the full perimeter. When paver joint sand and edge restraint systems fail or were never installed, two things happen simultaneously: the paver field migrates laterally, and water infiltrates along the exposed base edge.
Inspection procedure:
- Sight down each edge of the driveway from a low angle. Perimeter pavers that have migrated outward from their original line — even 1/4 inch — indicate lateral movement has started.
- At one accessible corner, lift a perimeter paver and look underneath. You should see PVC restraint spiked into the subgrade. Absent restraint, broken concrete curb sections, or unsecured plastic are all failure indicators.
- Check for gaps in the restraint at corners — that's where lateral movement starts because the shear force from vehicle turning concentrates there.
Perimeter pavers walking 1/4 inch or more outward from original alignment indicate edge restraint failure that compounds drainage problems. Once the edge opens up, joint sand washes from the perimeter inward and the entire field loses lateral confinement. The sinking vs. shifting mechanisms post covers how edge restraint failure and drainage failure interact in detail.
Step 4: Test for Hollow Base Spots With the Hammer-Tap Method
Tap the driveway with a framing hammer across the suspect area — a properly compacted base rings solid; an under-compacted or saturated base thuds dull or hollow. Hollow spots indicate base failure beneath the pavers, which means the fix is base intervention, not surface repair.
The hollow-tap test is the clearest field indicator of whether you're dealing with a surface repair or a base repair. Here's the procedure:
- Use a standard framing hammer — heavier mallets overdamp the sound.
- Tap every 12–18 inches across the area, working in a grid pattern.
- Listen for the distinction: a solid compacted base rings slightly, almost metallic. A saturated or loose base thuds flat and dead — the difference is audible and, once you've heard it, unmistakable.
- Mark hollow spots on the puddle map from Step 1 with a chalk line or paint pen.
Hollow spots that align with puddle locations are the diagnostic signal for drainage-driven base failure — the water isn't just sitting on the surface, it's been saturating the base and reducing its bearing capacity. That combination requires base intervention, not resanding. On Orinda Formation clay — the expansive clay underlying most of Lafayette, Orinda, and Moraga — saturated subgrade temporarily loses 30–50% of its compressive strength, and the pavers drop into the softened material under vehicle load. Expansive clay is soil that swells when wet and shrinks when dry, with seasonal volume change that routinely reaches 5–10% in East Bay hillside profiles. A surface resand on a base that's been through that saturation cycle fails within two seasons. The paver base compaction deep-dive explains what correct base density looks like and how to verify it on-site.
Fix 1: Pooling Water (Regrade or Surface Drains)
Pooling water on a paver driveway gets fixed in one of three ways: regrade the affected area to restore the 1-inch-per-8-feet slope required by ICPI Tech Spec 2, install a surface channel drain at the low point, or extend an existing downspout or French drain to redirect the source of the pooling. ICPI (the Interlocking Concrete Pavement Institute) is the U.S. trade body that sets installation standards for interlocking concrete pavers; their Tech Spec 2 document defines minimum drainage slope and base depth requirements for residential applications.
These are distinct interventions. Choosing the wrong one wastes money.
Regrading corrects a slope problem at the source. It requires lifting the pavers in the affected zone, adjusting the base and bedding sand to the correct grade, recompacting, and resetting. This is the right fix when the driveway itself was installed at incorrect slope and the surrounding terrain would drain adequately if the grade were corrected. On flatter Walnut Creek and Danville lots, this is often the primary issue — a contractor graded flat when they should have crowned at 1 inch per 8 feet. A 50 sq ft regrade and reset on a paver driveway typically costs $2,500–$5,000 in 2026.
Surface channel drains (NDS or Brickstop are the two standard product lines for interlocking paver applications) intercept water at the low point and route it to a drainage outlet. A channel drain doesn't fix wrong slope — it catches water that wrong slope concentrated. It's appropriate when regrading a large area would be disproportionately expensive, or when the adjacent site simply drains toward the driveway and no amount of regrading fixes that. Material cost for a 10–20 linear foot channel drain is $300–$1,200 DIY; installed cost runs $1,800–$5,000 depending on routing and outlet location.
Downspout extensions and French drain routing address source water rather than driveway slope. A French drain is a perforated pipe buried in clean gravel and wrapped in geotextile fabric that collects subsurface and surface water and routes it to a daylight outlet — typically used on hillside lots to intercept uphill runoff before it reaches the driveway base. If a downspout is discharging directly onto the driveway or into a planter that drains toward it, regrading the driveway surface solves nothing — the source keeps feeding water in. On Lafayette hillside lots and in the Moraga hills, uphill surface runoff reaching the driveway is frequently the primary drainage failure, not the driveway slope itself. For how these drainage patterns connect to patio and yard hardscape, 11 DIY paver patio mistakes that ruin drainage covers the same failure modes in the backyard context.
Fix 2: Washed-Out Joint Sand (Polymeric Resand and Reseal)
Washed-out joint sand gets fixed by sweeping vehicular-rated polymeric sand into the joints, activating with controlled water mist, and allowing 24-hour cure — total project time is half a day to a day depending on driveway size. This is the most DIY-accessible of the three fix types, provided the base beneath the joints is sound.
The procedure, step by step:
- Clean the joints with a stiff nylon broom, removing remaining old sand, debris, and any weed material. For joints with crumbled polymeric, a narrow oscillating tool speeds the cleanout.
- Blow off the surface with a leaf blower on low — you want the joint channel clean but the paver surface free of loose material before sand goes in.
- Sweep Techniseal HP NextGel or Alliance Gator Maxx into the joints completely, working in multiple directions to fill the full depth. Both products carry explicit vehicular-use ratings on the product label; confirm this before purchasing — the vehicular designation is printed on the bag.
- Brush excess sand off the paver surface with a soft broom, leaving joints full but pavers clean.
- Activate with 3 light mist passes using a garden hose on the mist setting — not a steady stream. Flooding the joint washes the polymer binder to the surface before it sets.
- Allow 24-hour cure before driving. If temperature drops below 50°F during cure or rain arrives in the forecast window, the activation chemistry doesn't complete properly.
East Bay weather window for polymeric sand application: 50–80°F with 36 hours of clear forecast. In practice, late spring and early fall are the best installation windows; mid-summer heat above 85°F and December through February rains are outside the reliable window.
Resanding a 600–1,200 sq ft paver driveway with vehicular-rated polymeric sand costs $1,500–$4,000 installed by a pro, or $400–$900 in materials for DIY on sound joints.
Fix 3: Settled Pavers From Drainage Failure (Lift, Supplement, Reset)
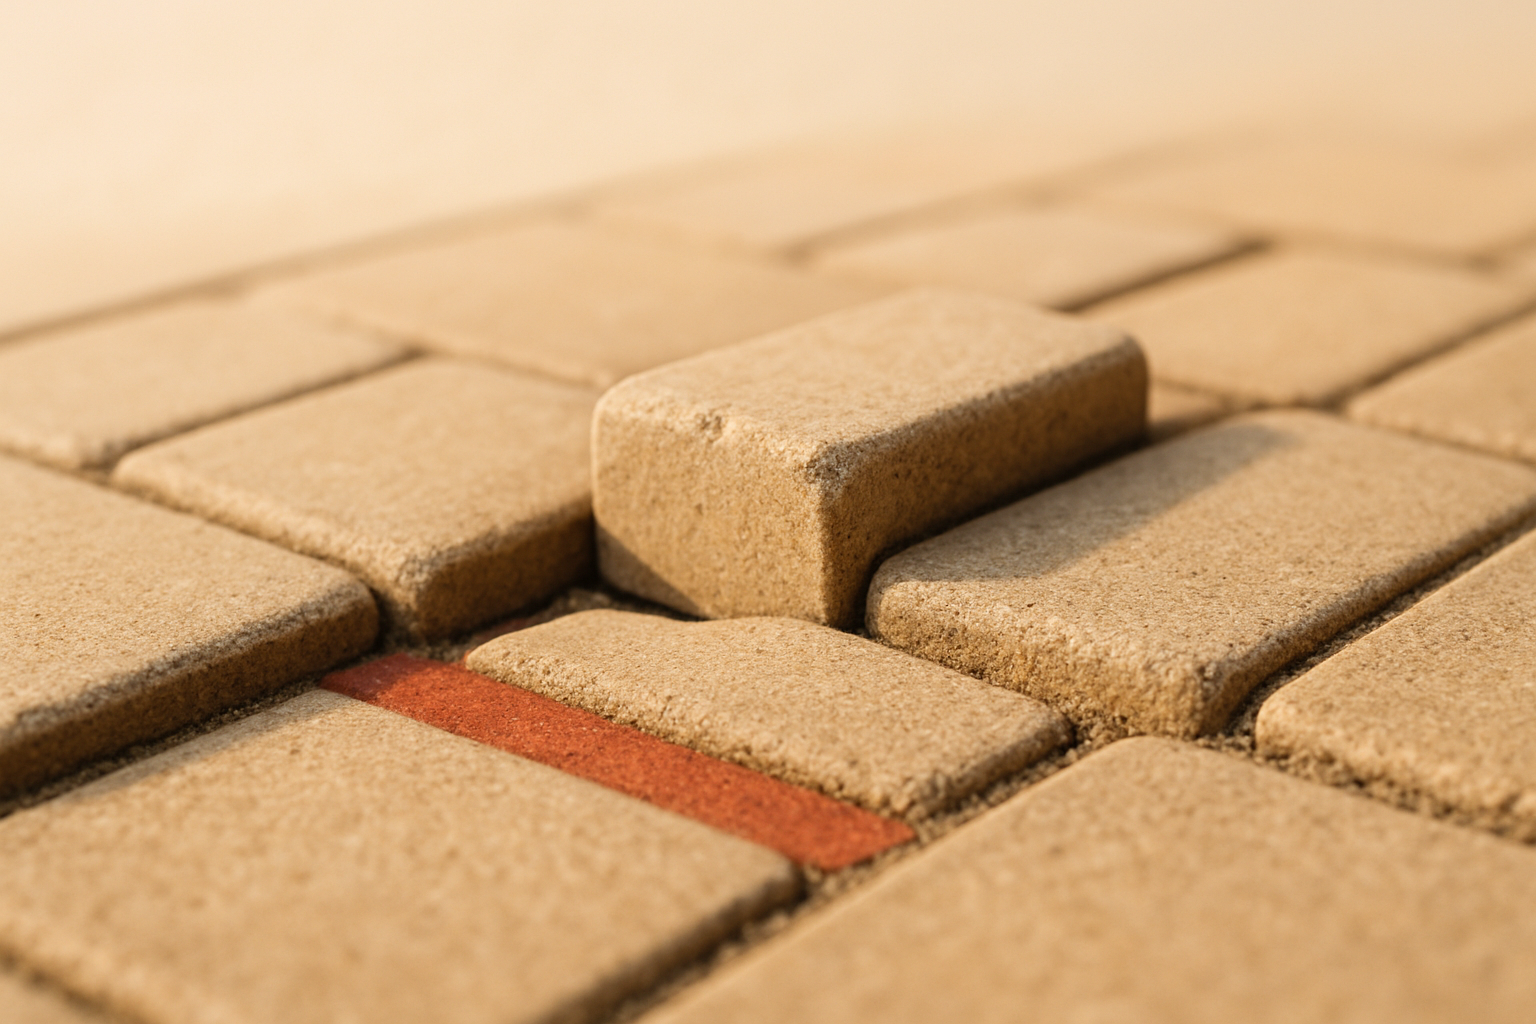
Pavers that settled because drainage failure saturated the base get fixed by lifting the affected pavers, supplementing the base aggregate to spec depth, re-compacting in 3-inch lifts, and resetting the pavers to match the surrounding level. This is the most involved of the three fix types and requires professional execution.
This is not DIY work. It requires a plate compactor, Class II road base aggregate, and experience reading grade accurately against the surrounding paver field. Done wrong, the reset pavers sit proud or low relative to adjacent pavers, creating a new trip hazard and a new pooling zone.
The procedure a pro crew executes:
- Mark the affected zone — typically 10–50 sq ft around the hollow-spot cluster from the tap test. Add 6–12 inches of buffer beyond the edge of the settled area; base failure often extends beyond the visible surface pattern.
- Remove pavers carefully, staging them in their original orientation and sequence. Pavers pulled out of order extend reset time significantly.
- Excavate to expose the base aggregate. If base depth is under 8 inches — the ICPI Tech Spec 2 minimum for residential vehicular applications — supplement with fresh Caltrans Class II road base to bring total depth to 8–10 inches.
- Re-compact in 3-inch lifts with 4–6 plate compactor passes per lift. Each lift is a separate compaction event. Compactor vibration penetrates only 3–4 inches into Class II aggregate, so a single pass on a thick pour leaves the bottom half loose.
- Restore the bedding sand layer to 1-inch depth, screeded level.
- Reset pavers to match the surrounding field. Lay a 6-foot straightedge across the reset area and the adjacent undisturbed field — deviation under 1/8 inch is the target. Industry level tolerance for a reset paver area is 1/4 inch of deviation over 8 feet; tighter is better.
- Fill joints with Techniseal HP NextGel or Alliance Gator Maxx and activate per the polymeric sand procedure in Fix 2.
A 30 sq ft settled-area repair on a paver driveway takes a pro crew 1–2 working days and costs $3,500–$8,000 in 2026. The range depends on base depth deficiency — a base that needs full replacement from 4 to 10 inches runs higher than one that needs 2-inch supplementation. The paver base compaction deep-dive covers what correct density looks like and how to verify it on-site.
When to Regrade vs. When to Add Drainage Infrastructure
Regrade the driveway when the slope is wrong but the surrounding terrain drains well; add drainage infrastructure (French drains, channel drains, downspout extensions) when water arrives at the driveway from uphill sources you can't grade away. These are different interventions with different applications — conflating them produces a repair that addresses the symptom but not the source.
Regrading is appropriate when:
- The driveway was installed flat or with inadequate crown, and the surrounding grade allows water to shed naturally if the driveway slope is corrected
- Pooling concentrates at one low point that a slope correction eliminates
- The puddle-map test and hose-flow test both point to a grading deficit rather than an external water source
Drainage infrastructure is appropriate when:
- Hillside runoff from above the driveway routes water onto the surface — no amount of driveway regrading redirects water that arrives from uphill
- Downspout discharge is the primary source, which can be rerouted with a downspout extension or dry well
- Neighboring property drainage concentrates at the driveway edge
On Lafayette and Orinda hillside lots, both are often required. The driveway may need its slope corrected and a French drain installed at the uphill edge to intercept runoff before it reaches the base. Getting only one of the two right produces a partial solution — and on Moraga's clay slopes, a partial solution fails its first wet season.
If you're planning larger hardscape work alongside this repair, 12 features full-service paver patios should include covers how drainage engineering integrates across the full property scope.
When to Call a Pro vs. Continue DIY
Call a pro for paver driveway drainage repair when the affected area exceeds 50 sq ft, when hollow base spots appear, when grade correction requires more than 2 inches of soil movement, or when the source of drainage failure involves hillside routing rather than local slope.
The decision list, in order of urgency:
- Affected area over 50 sq ft → pro. Plate compaction across a large area requires equipment and experience setting consistent grade.
- Hollow base spots detected on the hammer-tap test → pro. Base intervention is required; a surface repair will fail again within two seasons.
- Grade correction over 2-inch elevation change → pro. This involves regrading multiple paver zones and re-establishing cross-slope, not just re-seating a few units.
- French drain needed → pro. Routing a perforated drain line to a daylight outlet requires permit awareness in some jurisdictions and drainage engineering judgment on hillside lots.
- Hillside source water on Lafayette, Orinda, or Moraga lots → pro. Drainage engineering, not landscape repair — the source is uphill runoff that needs to be intercepted before it reaches the driveway.
- Polymeric resand under 600 sq ft, joints visibly clean, base sounds solid on tap test → DIY viable with vehicular-rated product and a proper weather window.
Honest framing: most drainage-driven paver failures on East Bay driveways land in the pro category. Joint washout alone is DIY-friendly. Joint washout combined with base saturation and uneven paver settlement is not — and on Orinda Formation expansive clay, base saturation is the predictable consequence of joint failure through multiple wet seasons.
Cost Ranges for Paver Driveway Drainage Repairs in 2026
| Repair type | Scale | DIY material cost | Pro install cost (2026) |
|---|---|---|---|
| Polymeric resand only | 600–1,500 sq ft driveway | $400–$900 | $1,500–$4,000 |
| Edge restraint reinstall | 30–100 linear feet | $200–$600 | $1,200–$3,500 |
| Surface channel drain install | 10–30 linear feet | $300–$1,200 | $1,800–$5,000 |
| Localized regrade and reset | 20–50 sq ft | Not advisable DIY | $2,500–$5,000 |
| Base supplement and reset | 30 sq ft settled area | Not advisable DIY | $3,500–$8,000 |
| French drain install | Hillside lot | Not advisable DIY | $4,000–$12,000 |
| Full drainage correction (regrade + drains) | Major hillside repair | Not advisable DIY | $10,000–$25,000 |
The full drainage correction range — $10,000–$25,000 — applies to hillside lots in Lafayette, Orinda, and Moraga where the driveway slope needs correction, a French drain must be installed at the uphill edge, and settled areas need base remediation. It's not uncommon on a 20-year-old hillside driveway where drainage engineering was skipped on the original install. Pricing varies by base deficiency depth, drain routing complexity, and paver reuse vs. replacement. For how these repair costs affect property value and resale positioning, 10 paver upgrades that raise East Bay resale value is worth a read before you decide on scope.
How Lamorinda Pavers Approaches Driveway Drainage Corrections
A correct driveway drainage correction starts with the 4-step diagnosis, identifies whether the failure is surface (joints, edges) or base (settling, saturation), and scopes the repair to match — and that's how Lamorinda Pavers handles every fix for uneven driveway pavers across Lafayette, Orinda, Moraga, Walnut Creek, and Danville.
Every assessment starts with an on-site walk. I'll run the puddle-map exercise with you, tap the full suspect area for hollow spots, check perimeter alignment against original edge lines, and probe joint condition across the driveway field. On clay-soil lots in Orinda and Moraga, I'm also reading the uphill drainage situation — where storm runoff concentrates, whether the surface has adequate crown, and whether a French drain is the real fix rather than a resand. On Lafayette hillside driveways along Happy Valley Road, subsurface water management gets its own review before any repair scope is drafted.
The output is a written diagnosis — surface fix vs. base intervention vs. drainage infrastructure — with fixed-price options for each repair type as separate line items. Resand, edge restraint reinstall, channel drain, localized regrade, base supplement, and French drain are each priced individually so you're choosing based on what the driveway actually needs. Every repair Lamorinda Pavers performs is backed by a 5-year transferable workmanship warranty covering base settlement, drainage failure, edge restraint movement, and joint sand failure attributable to the work.
Paver driveway repair and installation covers the full scope of what Lamorinda Pavers designs and builds across the East Bay. CSLB License #1092749.
Frequently Asked Questions
How do I fix uneven paver driveway from water?
Fixing uneven driveway pavers caused by water requires identifying the failure mode first. Pooling water from incorrect slope needs regrading or a surface channel drain. Washed-out joint sand needs vehicular-rated polymeric resand (Techniseal HP NextGel or Alliance Gator Maxx). Pavers settled from base saturation need lifting, base supplementation to 8–10 inches depth, and reset. Run the 4-step diagnostic — puddle-map, joint probe, edge restraint inspection, hammer-tap test — before ordering any materials.
Can I regrade a paver driveway myself?
Regrading a paver driveway is not advisable as a DIY project. It requires lifting pavers, adjusting base and bedding sand to a precise slope (minimum 1 inch per 8 feet per ICPI Tech Spec 2), plate-compacting to density in 3-inch lifts, and resetting pavers to match the surrounding field. Grade errors in the reset produce new pooling zones. Surface repairs — polymeric resand on sound joints, individual paver re-seating over a solid base — are DIY-viable. Anything involving base adjustment or slope correction is pro-only work.
How do I fix paver joint sand washout?
Fix paver joint sand washout by cleaning the joint channels, sweeping vehicular-rated polymeric sand (Techniseal HP NextGel or Alliance Gator Maxx) fully into the joints, brushing the paver surface clean, and activating with 3 light mist passes. Allow 24-hour cure before driving. Apply only within the East Bay weather window: 50–80°F with 36 hours of clear forecast. If the hammer-tap test reveals hollow base spots beneath the failed joints, resanding alone won't hold — base intervention is required first.
When should I call a pro for paver driveway drainage?
Call a pro when: the affected area exceeds 50 sq ft; the hammer-tap test reveals hollow base spots indicating base failure; grade correction requires more than 2 inches of elevation change; a French drain is needed to intercept hillside runoff; or the property is a Lafayette, Orinda, or Moraga hillside lot where uphill source water is the primary driver. DIY is viable only for polymeric resand on joints that are clean, under 600 sq ft, and over a base that sounds solid on the tap test.
How much does it cost to fix paver driveway drainage?
Paver driveway drainage repair costs in 2026 vary by fix type: polymeric resand runs $1,500–$4,000 installed; edge restraint reinstall runs $1,200–$3,500; a surface channel drain runs $1,800–$5,000; a 20–50 sq ft regrade and reset runs $2,500–$5,000; a 30 sq ft base supplement and reset runs $3,500–$8,000; a French drain on a hillside lot runs $4,000–$12,000. Full drainage correction combining regrading and drain installation runs $10,000–$25,000. All figures are Bay Area installed pricing and vary by base deficiency depth and routing complexity.
Do paver driveways need French drains?
Paver driveways on hillside lots with grades above 5% — typical of Lafayette, Orinda, and Moraga properties — need a French drain at the uphill edge to intercept storm runoff before it reaches the base. A French drain is a perforated pipe buried in clean gravel and wrapped in geotextile fabric that collects subsurface and surface water and routes it to a daylight outlet. On flatland Danville and Walnut Creek driveways with proper surface crown and working downspout routing, a French drain isn't always required — but any lot where water concentrates against the driveway from uphill should have one.
Get the Right Scope Before Any Work Begins
If your paver driveway shows pooling, washed-out joints, or settled areas from drainage failure and the fix exceeds DIY scope, request a free on-site assessment from Lamorinda Pavers. I'll walk the 4-step diagnostic with you personally — puddle-map the surface, tap for hollow base spots, inspect joint condition and edge restraint alignment — identify whether the fix is surface or base, and send a written repair scope with fixed-price options for each line item within 48 hours.
Resand, regrade, channel drain, French drain, base supplement: each is priced separately so you're choosing based on what your driveway actually needs, not what sounds comprehensive. Across Lafayette, Orinda, Moraga, Walnut Creek, and Danville, this is how uneven driveway pavers from drainage failure get corrected at the right scope, not over-scoped. Every repair is backed by a 5-year transferable workmanship warranty.
Contact us to schedule your site visit.