
The Short Answer
Driveway pavers sink and shift for different reasons. Driveway pavers sinking is vertical failure — the base aggregate beneath the pavers loses bearing capacity due to inadequate compaction, saturated subgrade, soft spots, or vehicle load exceeding base spec. Shifting is lateral failure — the paver field moves sideways because edge restraints failed, joint sand washed out, or vehicle turning forces concentrated shear stress at the surface. Confusing the two leads directly to the wrong repair, which fails again within a season or two. The diagnostic steps and cost ranges for each are meaningfully different, and the driveway paver diagnostic guide covers the full 4-step homeowner assessment if you're already dealing with a failing surface.
Lamorinda Pavers diagnoses driveway paver sinking and shifting across Lafayette, Orinda, Moraga, Walnut Creek, and Danville — and the clay-soil and drainage conditions in every one of those cities make the base mechanics here directly relevant to your driveway.
Sinking vs. Shifting — They're Not the Same Problem
Sinking and shifting are different physical failures requiring different diagnostics and different fixes — confusing them costs homeowners thousands in misdirected repair work.
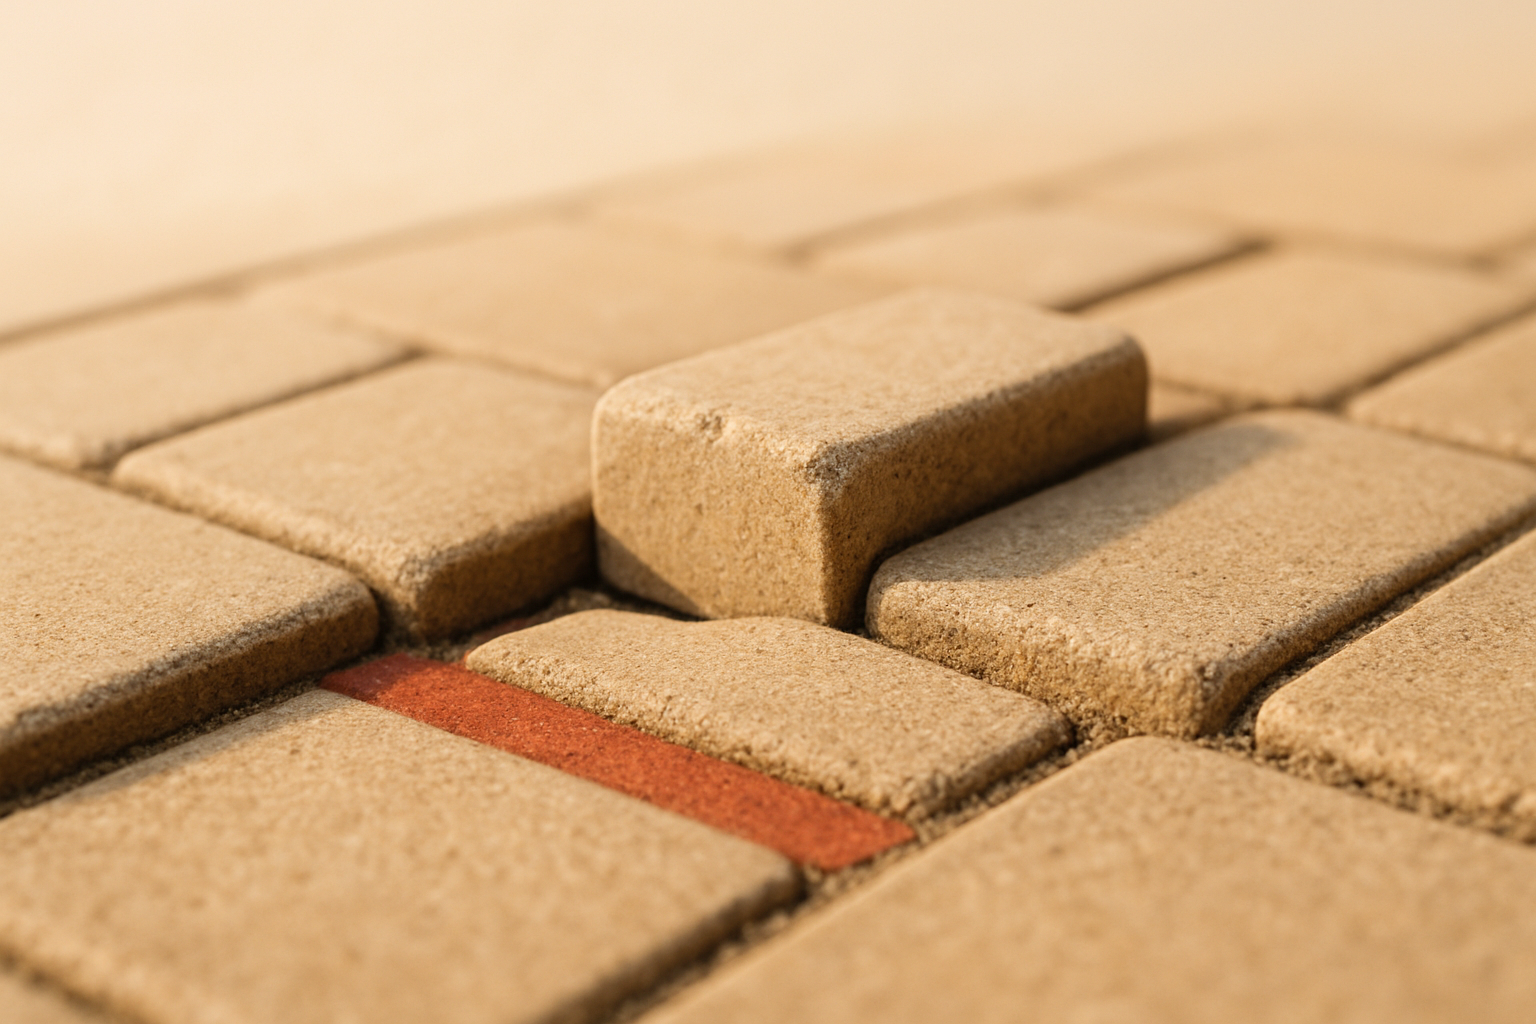
Paver sinking is vertical downward movement of pavers caused by base aggregate or subgrade failure beneath them. The pavers themselves are usually undamaged. What fails is below the surface — the 8–10 inches of aggregate that should be holding everything up.
Paver shifting is horizontal movement of pavers caused by edge restraint failure, joint sand washout, or vehicle turning forces. The base may be perfectly sound. The problem is lateral confinement — the system holding pavers in their original positions from the sides.
The visual signatures differ too. Sinking shows as depressed areas in the driveway field, water pooling after rain, or a wave pattern in the tire paths when you crouch and sight down the surface. Lay a 6-foot straightedge across a suspect area — depressions over 1/2 inch tell you the base has moved vertically beneath that zone. Shifting shows as widening gaps at the perimeter, pavers walking outward from their original alignment, or an edge that no longer tracks a straight line. Perimeter pavers on a shifting driveway often creep 1/4 to 1/2 inch per year — gradual enough to miss at first glance, obvious once you check alignment against the original edge line.
These distinctions drive the entire repair conversation. A sinking repair almost always requires base intervention — lifting pavers, supplementing or replacing aggregate, recompacting. A shifting repair often resolves at the surface — installing proper edge restraints and refreshing joint sand. Same symptom category (moving pavers), completely different fix, completely different price.
Why Driveway Pavers Sink — The 4 Vertical-Failure Mechanisms
Four mechanisms cause driveway pavers to sink, and most failed driveways combine two or three of them. Understanding which mechanism is active determines whether you need a surface fix or a full base intervention — and getting that wrong is the most expensive mistake in paver driveway installation and repair.
Inadequate Base Depth or Compaction
A driveway base built to patio depth — 4 to 6 inches — fails under residential vehicle loads within 24 to 48 months because the aggregate never had the bearing capacity to handle the load in the first place.
The physics are straightforward. ICPI Tech Spec 2 (Construction of Interlocking Concrete Pavements) is the U.S. industry standard published by the Interlocking Concrete Pavement Institute that specifies minimum base depths, compaction procedures, and bedding sand requirements for interlocking concrete paver installations — it requires a minimum of 8 inches of compacted aggregate base for residential vehicular applications. On East Bay expansive-clay lots in Lafayette, Orinda, and Moraga, 8 inches is the floor — the target is 8 to 10 inches. Beyond depth, lift thickness matters just as much. Plate compactor vibration penetrates only 3 to 4 inches into Class II aggregate. A contractor who pours 6 or 8 inches in a single lift compacts only the top half — the bottom remains loose and consolidates slowly under vehicle weight. Three-inch lifts with 4 to 6 plate compactor passes per lift is the correct sequence. It takes longer. There's no way around that math.
A paver driveway built to ICPI Tech Spec 2 with 8–10 inch base depth and 95% Proctor density doesn't sink under normal residential vehicle loads — sinking failures almost always trace back to base shortcuts. The paver base compaction deep-dive covers the physics in full.
Saturated Subgrade Reducing Bearing Capacity
Clay subgrade that absorbs winter rainwater loses a significant fraction of its ability to support load — temporarily, but with permanent consequences.
A paver base loses 30–50% of its compressive strength when saturated. On the Orinda Formation expansive clay that underlies most of Lafayette, Orinda, and Moraga, a wet winter doesn't just soften the surface layer — it temporarily reduces the bearing capacity of the entire subgrade beneath a poorly drained base. The pavers and aggregate sink into that softened material under vehicle weight. When the clay dries in summer and regains some stiffness, the pavers don't recover their elevation. Each wet season compounds the previous season's settlement.
This is why drainage engineering — a minimum 1-inch-per-8-feet surface slope, proper French drains on hillside lots, and a geotextile fabric layer between native clay and aggregate — is structural design, not cosmetic detail. Geotextile fabric is a permeable textile membrane placed between native soil and base aggregate to prevent fine clay particles from migrating upward into the aggregate under hydraulic pressure — it provides structural separation between subgrade and base, not decorative or erosion-control function. Without it, winter rainwater pumps clay fines up into the aggregate voids, destroying the base's compressive strength over three to five wet seasons. Water management is the first question on every driveway project along Happy Valley Road in Lafayette and in the Orinda hills above Route 24.
Vehicle Load Exceeding Base Spec
A base engineered for a household of two sedans fails under regular use by an F-250, a loaded trailer, or repeated heavy delivery traffic — not immediately, but within several seasons.
This is an underappreciated cause of mid-life driveway pavers sinking. The household that commissioned the original driveway may have driven a pair of 3,500 lb sedans. The current household runs a 6,500 lb pickup and an SUV. The base was never designed for that load profile. The failure mode is mechanically identical to inadequate compaction failure — because in effect, it is — but the cause is a spec mismatch rather than a poor installation. Rebuilding to the same spec reproduces the same failure. The rebuild needs to be scoped to the actual vehicle loads the driveway sees, with base depth adjusted accordingly. This spec-mismatch pattern is one of the 11 driveway paver installation mistakes that surfaces most often on mid-life driveways.
Soft Spots from Buried Debris or Unconsolidated Soil
Localized sinking directly above a buried tree root, an old irrigation line, an abandoned clay drain tile, or fill dirt placed over a void is a soft-spot failure — and it looks different from widespread base failure.
The pattern is a giveaway. A soft-spot sinking failure is oval or roughly circular, matches the footprint of what's buried below, and often appears within the first two to three years of a new install rather than gradually over a decade. Probing with a soil rod before excavation is the prevention step — identifying subsurface voids and buried organics before base aggregate goes down. On lots in Walnut Creek and Danville where mature landscaping has been removed prior to driveway installation, buried root mass is a more common soft-spot source than most homeowners expect.
Why Driveway Pavers Shift — The 4 Lateral-Failure Mechanisms
Four mechanisms cause driveway pavers to shift laterally — and unlike driveway pavers sinking, lateral shifts often surface within 12 to 24 months of installation because edge failure compounds quickly.
Missing or Wrong-Spec Edge Restraints
Missing edge restraints are the most common cause of paver driveway shifting — and the most preventable.
PVC spike-down edge restraints with 10-inch galvanized spikes at 10-inch spacing are the correct specification for residential paver driveways. Without them, the paver field has nothing holding it laterally against the outward thrust of vehicle load. Perimeter pavers walk 1/4 to 1/2 inch per year — slow enough that homeowners often don't notice for two or three years, fast enough that a 10-year-old driveway with no restraints can show 2 to 3 inches of lateral spread at the perimeter. Once spread starts, joint sand works out of the widening gaps, pavers cant, and the interior field loses confinement from the outside in.
Edge restraint with 10-inch galvanized spikes at 10-inch spacing prevents 60–70% of lateral failure modes. It costs $1.50 to $3 per linear foot installed. The repair it prevents costs $1,200 to $5,000. The paver joint sand and edge restraint detail is covered fully in the driveway paver diagnostic guide — worth reading before any contractor conversation about driveway paver shifting.
Joint Sand Washout Creating Lateral Mobility
Pavers stay in alignment because the joint sand between them creates friction and lateral confinement — when that sand washes out, the interlocking system loses the mechanism that makes it work.
Regular silica sand washes out of driveway joints within two to three East Bay winters. Even patio-grade polymeric sand crumbles under the compression-and-rebound load cycling of vehicle tires — it's not formulated for vehicular mechanical stress. Once joint sand fails, individual pavers can rock under load. Rocking under load accelerates lateral movement, opens adjacent joints, and creates a cascading failure sequence that moves outward from the first compromised zone.
Vehicular-rated polymeric joint sand — specifically Techniseal HP NextGel or Alliance Gator Maxx, both of which carry explicit vehicular-use ratings on the product label — is the correct specification. Reseal every 5 to 7 years to maintain joint integrity. A driveway that's otherwise level but shows open joint lines or visible sand loss in the tire paths often needs resanding before it progresses to structural shifting.
Vehicle Turning Forces Concentrating Shear Stress
Rolling load and turning load are different forces — and turning zones fail first because the shear stress is higher.
Shear stress at the wheel turning contact patch is 3–5x the rolling stress — turning zones shift first. When a vehicle wheels from the street onto the driveway, the tire sweeps laterally across the paver surface rather than rolling straight. That sweep generates lateral shear force concentrated at the street entry turning radius. Without edge restraint and proper joint confinement at that specific zone, the perimeter pavers at the turning arc displace outward — and the field follows. The same force applies at tight turns within a wider driveway, and at points where a vehicle backs and repositions repeatedly.
Pattern orientation matters here too. Forty-five degree herringbone distributes these vehicle force vectors across the maximum number of joint edges, which is why ICPI installation guidance specifies it as the strongest pattern for vehicular applications. Running bond oriented parallel to vehicle travel creates continuous joint lines aligned with the shear forces — essentially a crack and displacement guide.
Freeze-Thaw Cycling Pushing Pavers Laterally
The East Bay climate is mild enough that freeze-thaw cycling rarely drives paver shifting on most driveway installations — but it's not a zero factor on every property.
Elevated hillside lots in parts of Orinda and Moraga, particularly north-facing driveways that see less direct sun in winter, can experience enough freeze-thaw cycling to push pavers laterally when joint sand is compromised or edge restraints are absent. Water infiltrates open joints, expands on freezing, and exerts outward pressure on adjacent pavers. Repeated over multiple winter events, this produces lateral displacement that looks similar to vehicle-turning shear failure — but concentrated on the shadowed side of the driveway rather than at the turning zones. On Lafayette and Walnut Creek flatland driveways, freeze-thaw shifting is uncommon enough that edge restraint failure or joint sand washout is the correct first diagnostic.
How to Tell Sinking from Shifting on Your Driveway
Diagnose sinking vs. shifting in three observations — measure level deviation, inspect perimeter alignment, and locate where the failure pattern is concentrated. These three steps let you self-identify the problem type before calling a contractor, which directly affects the repair conversation.
Measure level deviation. Lay a 6-foot straightedge across suspect areas in multiple directions. Depressions over 1/2 inch below the straightedge indicate vertical sinking. If the surface reads flat under the straightedge but perimeter gaps exist, the problem is lateral rather than vertical.
Inspect perimeter alignment. Check whether perimeter pavers are still in their original position relative to the driveway edge, adjacent curb, or landscape border. Pavers that have walked 1/4 inch or more outward from their original alignment indicate lateral shifting. If the perimeter is intact but the tire paths are lower, the failure is vertical sinking in the field.
Locate the failure pattern. Tire-path concentration — depressions that trace exactly where tires roll — indicates load-driven vertical sinking. Perimeter or edge concentration — gaps, displaced pavers, or outward migration along the boundary — indicates lateral shifting. Corner and turning-zone failures where both depression and outward movement are present often indicate combined sinking and shifting, which is the most common failure pattern at street-entry turning areas.
Walking the driveway with these three observations runs parallel to the diagnostic protocol in the driveway paver diagnostic guide — use that guide for the full 4-step assessment before any contractor conversation.
Sinking Is a Base Problem. Shifting Is Usually a Surface Problem.
Sinking requires base intervention — there's no surface fix for inadequate compaction or saturated subgrade. Shifting can usually be fixed at the surface — re-installing edge restraints, refreshing polymeric joint sand, and re-seating pavers along their original alignment.
This distinction drives the repair scope and the repair cost. A sinking repair means lifting the pavers in the affected zone, excavating to the correct depth, supplementing or replacing the base aggregate, compacting in 3-inch lifts to 95% Proctor density. ASTM D698 is the Standard Proctor compaction test — the standardized ASTM test method that measures the maximum dry density and optimal moisture content of compacted soil or aggregate, with 95% of that maximum density as the accepted threshold for vehicular paving base. A shifting repair means removing perimeter pavers, installing or upgrading edge restraints to PVC with 10-inch galvanized spikes at 10-inch spacing, snugging displaced pavers back to alignment with a rubber mallet, and resanding joints with vehicular-rated polymeric.
A 30-square-foot shifting repair typically costs $1,500–$3,500; a 30-square-foot sinking repair typically costs $3,500–$8,000 because of the base remediation involved. Misidentifying driveway pavers sinking as shifting and applying a surface fix produces a repair that fails again within one to two seasons — because the base that caused the vertical movement was never addressed. For context on how these failures originate during construction, the 11 driveway paver installation mistakes guide walks through each shortcut and its time-to-failure.
How to Prevent Driveway Pavers from Sinking
Driveway pavers don't sink when five build characteristics are present from day one: 8 to 10 inches of compacted Class II aggregate in 3-inch lifts, non-woven geotextile fabric over the clay subgrade, properly graded drainage, Proctor-tested base density to 95%, and base spec sized for the heaviest vehicle expected.
Class II aggregate is a graded crushed stone blend meeting the Caltrans gradation specification for particle size distribution — it achieves tight angular interlock under compaction and maintains bearing capacity under repeated vehicle load, and it's a material with a documented spec, not a generic product category.
The geotextile layer between the native subgrade and the aggregate is structural separation — it prevents Orinda Formation clay fines from pumping upward into aggregate voids under winter hydraulic pressure. Without it, three to five wet seasons degrade a correctly built aggregate base from the bottom up.
Drainage slope of minimum 1 inch per 8 feet keeps water off the surface and out of the base. On hillside lots in Lafayette and Orinda with grade above 5%, a French drain intercept on the upslope edge is a drainage engineering requirement, not an upgrade. Water that concentrates against the uphill edge and infiltrates the base does more damage than a marginally adequate base depth. The subgrade itself needs plate compaction to 95% Proctor density (ASTM D698) before aggregate goes down — freshly cut clay feels firm but can be 15 to 20% below density without mechanical compaction. The parallel paver patio sinking guide covers the same base and drainage physics, though vehicle loads make driveway sinking a different problem at every spec level.
A paver driveway built to ICPI Tech Spec 2 with 8–10 inch base depth and 95% Proctor density doesn't sink under normal residential vehicle loads — sinking failures almost always trace back to base shortcuts.
How to Prevent Driveway Pavers from Shifting
Driveway pavers don't shift when four surface characteristics are present from day one: PVC edge restraints with 10-inch galvanized spikes at 10-inch spacing, vehicular-rated polymeric joint sand, pattern orientation aligned for vehicle force vectors, and proper surface crown for water shed.
Edge restraint with 10-inch galvanized spikes at 10-inch spacing prevents 60–70% of lateral failure modes. It's the single highest-leverage installation detail for preventing driveway shifting — and one of the cheapest steps in the entire install. Spikes at 24-inch spacing cost almost the same on installation day and fail within 5 to 10 years. The spike spacing isn't a preference; it's a load-based engineering specification.
Vehicular-rated polymeric joint sand — Techniseal HP NextGel or Alliance Gator Maxx, not patio-grade polymeric — maintains joint integrity under the compression-and-rebound cycling that vehicle tires generate daily. Reseal every 5 to 7 years. Pattern orientation at 45-degree herringbone for vehicular driveways distributes vehicle force vectors across the maximum number of joint edges, reducing the lateral stress on any single joint line. At turning zones and the garage apron braking area, pattern orientation is a structural decision before it's an aesthetic one. For a step-by-step view of how these details get executed during installation, how to install a level paver patio that won't shift covers the procedural sequence — the surface-level principles translate directly to driveway work.
When Sinking or Shifting Requires Immediate Repair vs. Monitor-and-Track
Driveway paver sinking or shifting requires immediate repair when failure depth exceeds 1 inch (sinking) or lateral movement exceeds 3/8 inch (shifting), or when water pools visibly after rain — anything smaller can be monitored quarterly with photo documentation.
- Sinking depth under 1/2 inch with no pooling: monitor quarterly with photos. Mark the edge of the depression with a paint pen to track progression.
- Sinking depth 1/2 to 1 inch, or any visible water pooling after rain: schedule repair within 6 months. Pooling accelerates base saturation and compounds settling.
- Sinking depth over 1 inch: immediate repair. Base failure is active and spreading; delay allows the failure zone to expand.
- Lateral shift under 1/4 inch at perimeter: monitor quarterly. Document alignment against the original edge line.
- Lateral shift 1/4 to 3/8 inch: schedule edge restraint repair within 6 months. The shift rate accelerates once joint sand begins washing out of widening gaps.
- Lateral shift over 3/8 inch or visible joint gaps wide enough to insert a finger: immediate repair. At this threshold, pavers are at risk of further displacement under vehicle load, and the gap invites accelerated joint sand loss and weed establishment.
Cost Ranges: Fixing Sinking vs. Fixing Shifting in 2026
A 30-square-foot shifting repair typically costs $1,500–$3,500; a 30-square-foot sinking repair typically costs $3,500–$8,000 — because driveway pavers sinking always requires base intervention while shifting often resolves at the surface.
| Failure type | Scale | Typical fix | Cost range (2026) |
|---|---|---|---|
| Sinking | Small — under 10 sq ft | Lift pavers, supplement base, recompact in lifts, reset | $1,500–$4,000 |
| Sinking | Mid — 10–50 sq ft | Partial rebase, recompact to 95% Proctor, reset pavers | $4,000–$10,000 |
| Sinking | Widespread — 30%+ of surface | Full driveway rebuild with 8–10 inch Class II base | $20,000–$45,000 |
| Shifting at perimeter | Any scale | Install or upgrade PVC edge restraints, snug pavers to alignment | $1,200–$3,500 |
| Shifting with joint failure | Any scale | Edge restraint upgrade + resand with vehicular-rated polymeric | $2,000–$5,000 |
| Combined sinking + shifting | Turning zones or corners | Lift, rebase, restraint upgrade, resand with Techniseal HP NextGel or Alliance Gator Maxx | $5,000–$12,000 |
The combined sinking-and-shifting failure at turning zones and street-entry corners is the most expensive repair per square foot because it requires both base remediation and surface-level restraint work. It's also the most common failure pattern on driveways where the original installation cut corners on both base depth and edge restraint — two of the driveway paver installation problems covered in the 11 driveway paver installation mistakes guide for anyone evaluating a new installer.
For context on the full scope of what a driveway rebuild involves, the 10 paver upgrades that raise East Bay resale value post covers how properly rebuilt driveways are valued by buyers — relevant if you're weighing repair vs. full replacement.
How Lamorinda Pavers Diagnoses Sinking and Shifting on East Bay Driveways
A correct diagnosis of driveway paver sinking or shifting starts with separating the two phenomena, identifying which mechanism is active, and scoping the fix to match — and that's how Lamorinda Pavers approaches every driveway assessment across Lafayette, Orinda, Moraga, Walnut Creek, and Danville.
The assessment process is the same on every driveway: a free on-site walk where I measure level deviation with a straightedge across the full surface, check perimeter alignment against original edge lines, inspect joint condition in the tire paths and at the perimeter, and run a hollow-tap test across suspect zones to find voids beneath the bedding sand. On clay-soil lots in Orinda and Moraga, I'm also reading the drainage situation — where water concentrates after rain, whether the surface has adequate crown, and whether upslope runoff is reaching the base from the uphill edge. On steeper lots along Happy Valley Road in Lafayette and in the Orinda hills above Route 24, subsurface water management gets its own review before any repair scope is drafted.
The output is a written diagnosis identifying whether sinking, shifting, or both are present — which mechanisms are active, which zones are affected, and what the fix is for each. Fixed-price repair options are itemized separately: surface fix for pure shifting, base intervention for sinking, combined scope for turning-zone failures. Every repair and rebuild Lamorinda Pavers performs across Lafayette, Orinda, Moraga, Walnut Creek, and Danville is backed by a 5-year transferable workmanship warranty covering base settlement, drainage failure, edge restraint movement, and joint sand failure attributable to the work.
Paver driveway installation and repair covers the full scope of what Lamorinda Pavers designs and builds across the East Bay. For the parallel paver patio sinking guide, the base and drainage physics overlap — but vehicle loads make driveway sinking and shifting a different problem at every spec level.
CSLB License #1092749.
Frequently Asked Questions
Why are my driveway pavers sinking?
Driveway pavers sinking traces to four mechanisms: inadequate base depth or compaction (the most common cause), saturated subgrade losing 30–50% of compressive strength during wet winters, vehicle load exceeding the original base spec, or soft spots from buried debris beneath the base. On East Bay clay-soil lots in Lafayette, Moraga, and Orinda, saturated subgrade and inadequate base depth frequently combine — which is why drainage engineering and 8 to 10 inches of Class II aggregate are both required, not either-or.
What causes driveway pavers to shift?
Driveway paver shifting is caused by missing or wrong-spec edge restraints, joint sand washout creating lateral mobility between paver units, vehicle turning forces concentrating shear stress at the perimeter, or (on elevated north-facing lots) freeze-thaw cycling pushing pavers outward. Missing edge restraints are the most common single cause — perimeter pavers migrate 1/4 to 1/2 inch per year without proper PVC restraints spiked at 10-inch intervals, and the interior field follows once the perimeter loses confinement.
How do I tell if my driveway pavers are sinking or shifting?
Lay a 6-foot straightedge across the driveway in the tire paths — depressions over 1/2 inch indicate vertical sinking. Then check perimeter alignment: if perimeter pavers have moved outward by 1/4 inch or more while the field is otherwise flat, the problem is lateral shifting. Tire-path depressions without perimeter movement indicate pure sinking. Both patterns together — most common at turning zones — indicate combined failure requiring both base and surface intervention.
Can shifting pavers be fixed without rebuilding?
Yes — lateral shifting caused by edge restraint failure or joint sand washout is often repairable at the surface without base work. The fix involves removing perimeter pavers, installing PVC edge restraints with 10-inch galvanized spikes at 10-inch spacing, snugging displaced pavers to alignment, and resanding with vehicular-rated polymeric sand (Techniseal HP NextGel or Alliance Gator Maxx). This scope runs $1,200 to $5,000 depending on perimeter length affected. If shifting accompanies vertical sinking — detectable by the straightedge test — the base also needs remediation and cost increases accordingly.
How much movement is too much for a paver driveway?
Sinking over 1/2 inch in the tire paths warrants repair within 6 months; over 1 inch warrants immediate repair before the failure zone spreads. For lateral shifting, movement over 1/4 inch at the perimeter warrants scheduling edge restraint repair within 6 months; over 3/8 inch or visible finger-width gaps warrant immediate repair. Any visible water pooling after rain is a repair trigger regardless of measured deviation — pooling accelerates base saturation and compounds settling faster than the surface movement alone suggests.
How long do paver driveway repairs last?
A repair scoped correctly to the active failure mechanism lasts as long as a new installation — 25 to 50 years for base remediation repairs, indefinitely for edge restraint and joint sand repairs maintained with reseal every 5 to 7 years. A repair that misidentifies driveway pavers sinking as shifting (or vice versa) fails again within one to two seasons. Every Lamorinda Pavers driveway repair is backed by a 5-year transferable workmanship warranty covering base settlement, drainage failure, edge restraint movement, and joint sand failure attributable to the work.
Get the Right Diagnosis Before Any Repair Work Begins
If your paver driveway shows sinking, shifting, or both, request a free on-site assessment from Lamorinda Pavers. I'll walk your driveway personally, measure level deviation and perimeter alignment, identify which mechanisms are active, and send a written diagnosis with fixed-price repair options — surface fix for shifting, base intervention for sinking, or combined repair for turning-zone failures — in writing within 48 hours.
The diagnostic determines the scope. Spot shifting repair, edge restraint reinstall, joint resand, partial rebase, and full rebuild are all on the table, priced separately, so you're choosing based on what your driveway actually needs rather than what sounds comprehensive in a sales pitch.
Every repair and rebuild is backed by a 5-year transferable workmanship warranty. Across Lafayette, Orinda, Moraga, Walnut Creek, and Danville, this is how driveway paver movement problems get diagnosed correctly and fixed at the right scope. Contact us to schedule your site visit.