The Short Answer
Outdoor living project coordination in 2026 means managing five dimensions across 12–20 weeks: trade sequencing, permit and inspection gating, material lead times, change-order discipline, and stakeholder communication. The projects that finish on time and on budget treat coordination as a homeowner skill, not something to outsource entirely to the GC.
An outdoor living build is a multi-trade construction project that combines paver hardscape with integrated features — kitchens, fire features, shade structures, lighting, water features — into a single coordinated outdoor space. That definition matters because it sets the expectation: you're not managing a paver patio installation, you're managing a construction project with 3–5 trades, multiple permit pulls, and material lead times that can stretch 2–12 weeks.
This guide covers the full homeowner-side coordination plan — sequencing, permits, procurement, budget discipline, and communication — for an East Bay build across Lafayette, Orinda, Moraga, Walnut Creek, or Danville.
Why Are Outdoor Living Builds Harder to Coordinate Than Indoor Remodels?
Outdoor living builds are harder to coordinate than indoor remodels because they expose more variables — weather, hidden subgrade conditions, multi-jurisdiction permit pulls, and material lead times for items that aren't stocked locally.
Five specific reasons:
Weather pauses. East Bay winters bring rain windows that shut down paver base compaction and polymeric sand application entirely. Techniseal polymeric sand requires 50–80°F temperatures and a 36-hour clear window — plan a build through November and you're gambling on both.
Subgrade surprises. Expansive clay in Orinda and Moraga doesn't declare itself until the excavator is in the ground. Expansive clay is soil that swells when wet and shrinks when dry, with seasonal volume change of 5–10% — and it's the default condition across most of the Lamorinda hillside. Old slabs, buried irrigation laterals, and utility lines from prior landscaping phases surface regularly on Lafayette hillside lots and Danville properties with mature landscaping. Each one is a delay with a cost.
Multi-trade complexity. A full outdoor living build involves hardscape (C-27 or B-licensed), gas line work (C-36), electrical (C-10), sometimes plumbing for sink rough-in, and structural framing for heavier pergolas. Each trade has its own scheduling calendar, and none of them are waiting for your project.
Permit triggers. Gas appliances, new electrical circuits, and kitchen structures above certain height thresholds each generate their own permit pull — in some cases with separate inspection gates before the next phase can proceed. In Orinda, Lafayette, and Walnut Creek, those permit pulls happen in parallel with your build prep, or they extend your total timeline.
Material lead times. Louvered pergola systems from StruXure or Renson take 6–10 weeks from order to delivery. Custom stone countertops take 4–8 weeks for fabrication. Neither waits for your construction start date. For the full scope of what a well-designed outdoor living space should include from the start, see the 12-feature scope checklist — locking every element at design time is what keeps procurement on schedule.
What Is the Realistic 7-Phase Outdoor Living Build Timeline?
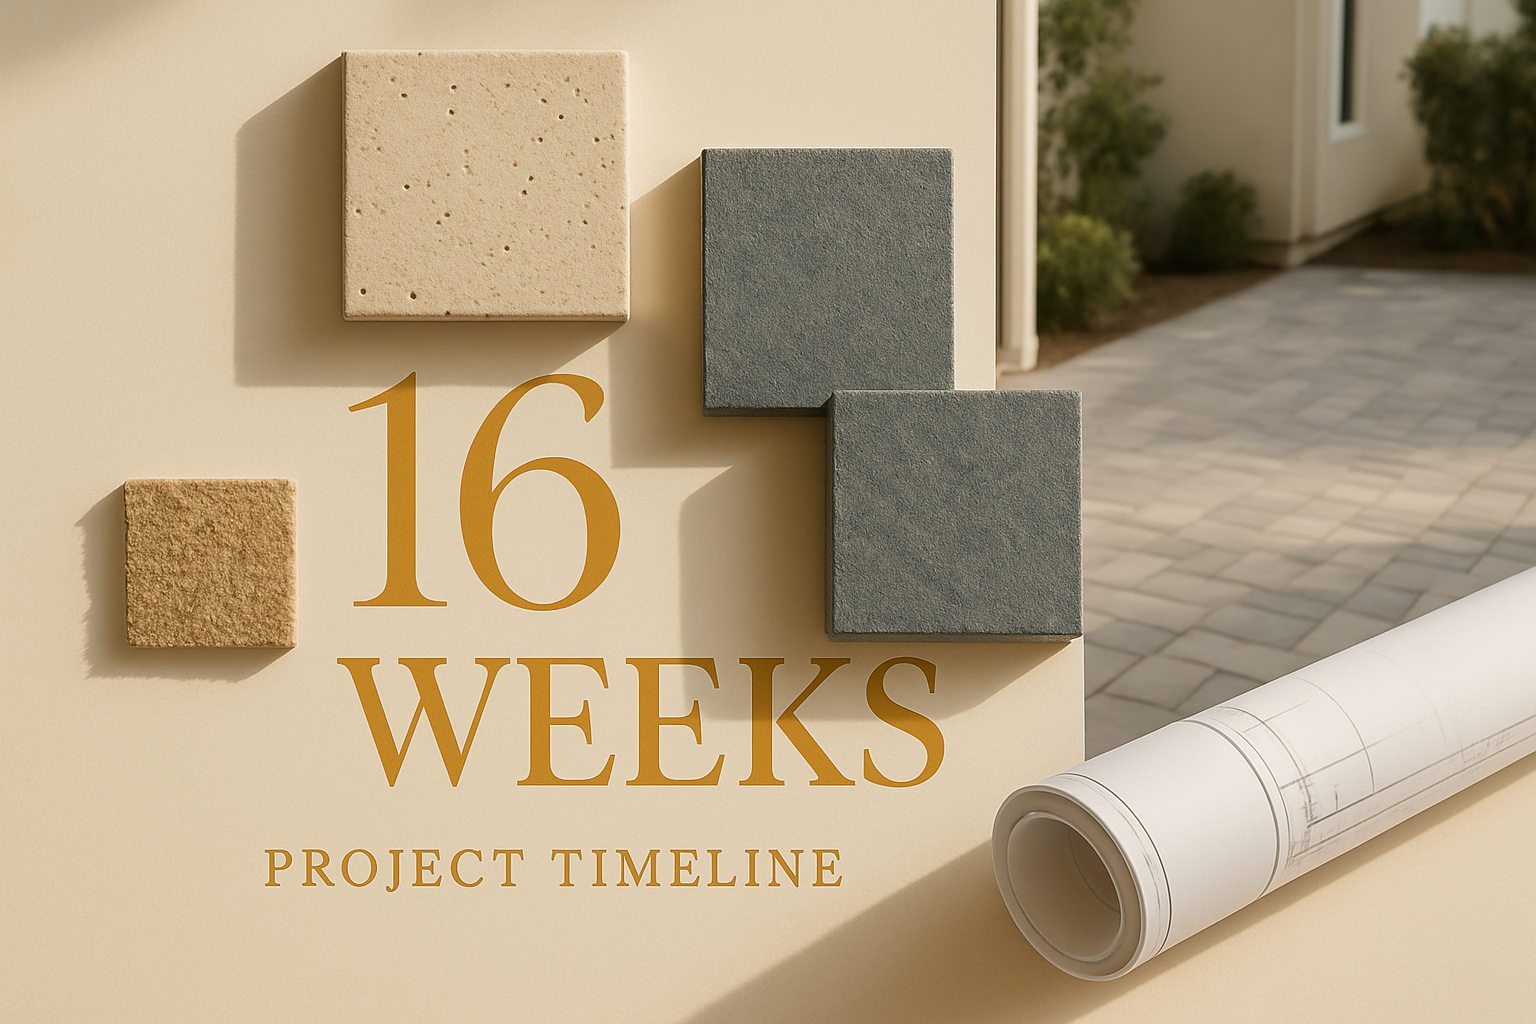
A realistic outdoor living build runs 12–20 weeks from contract signing to final walk-through — broken into 7 distinct phases that overlap in specific ways.
The realistic outdoor living build timeline in 2026 is 12–20 weeks for a full integrated project; 8–12 weeks for hardscape-only builds.
Phase 1: Design and Scope Definition (2–6 Weeks)
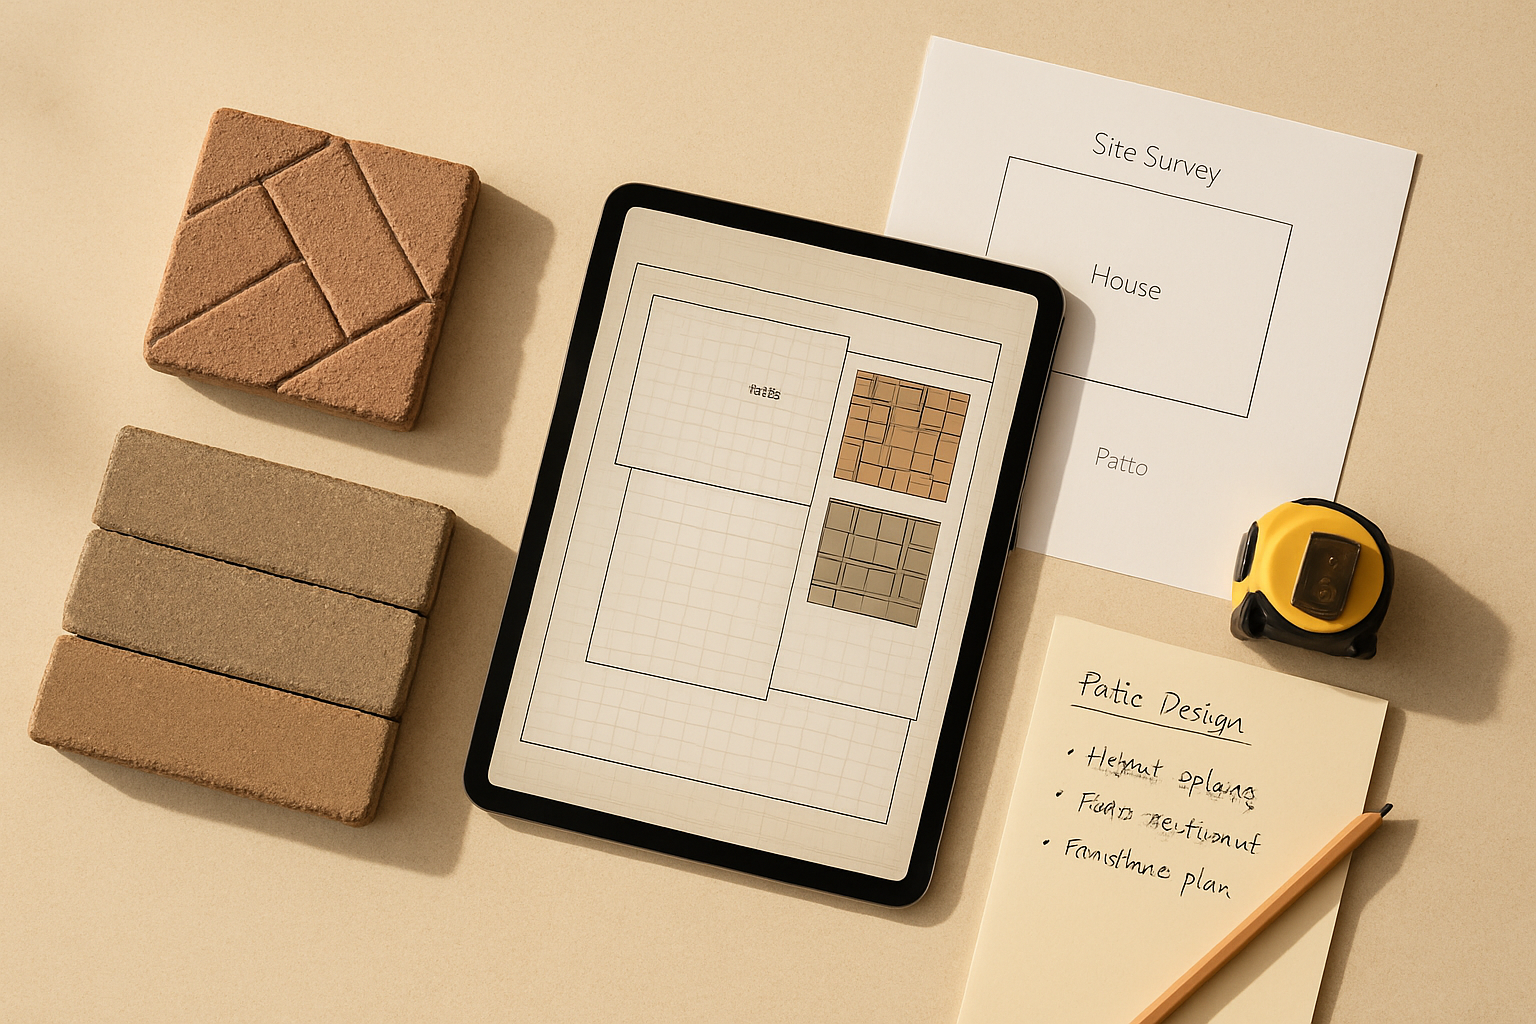
Design and scope definition is where every subsequent phase gets its inputs — get it wrong here and the schedule slips everywhere downstream. This phase covers: site measurement and drainage survey, zone planning, material selection, appliance specification, and a written scope document that all bidders can price against. A vague scope produces bids you can't compare. See the 12-feature scope checklist for a framework that covers every design decision from base engineering through material continuity.
Phase 2: Permits and Final Design (3–8 Weeks, Overlaps With Material Orders)
Permits and final design run concurrently with material procurement — not sequentially. Combined gas, electrical, and building permits in East Bay jurisdictions typically take 2–4 weeks from submittal to issuance, with one rough-in inspection and one final inspection during construction. The permit submittal should go in the week after design is locked, with material orders placed the same week. Projects that wait for permit approval before ordering materials add 4–6 weeks to total timeline at zero benefit.
Phase 3: Material Procurement (2–12 Weeks Lead Time, Starts at Design Lockdown)
Critical practice: order materials at design lockdown, not at contract signing — this often saves 2–4 weeks on the total timeline. Your GC should be placing material orders within days of your signature on a locked scope, not after permits clear. The full material lead-time breakdown is in the procurement section below.
Phase 4: Site Prep and Demolition (1 Week)
Site prep covers: demolition of existing hardscape, tree root clearance, rough grading, and identification of any buried conditions. This is the phase where subgrade surprises surface — budget discovery time here rather than letting surprises compress the build phases that follow.
Phase 5: Hardscape and Base Build (1–3 Weeks)
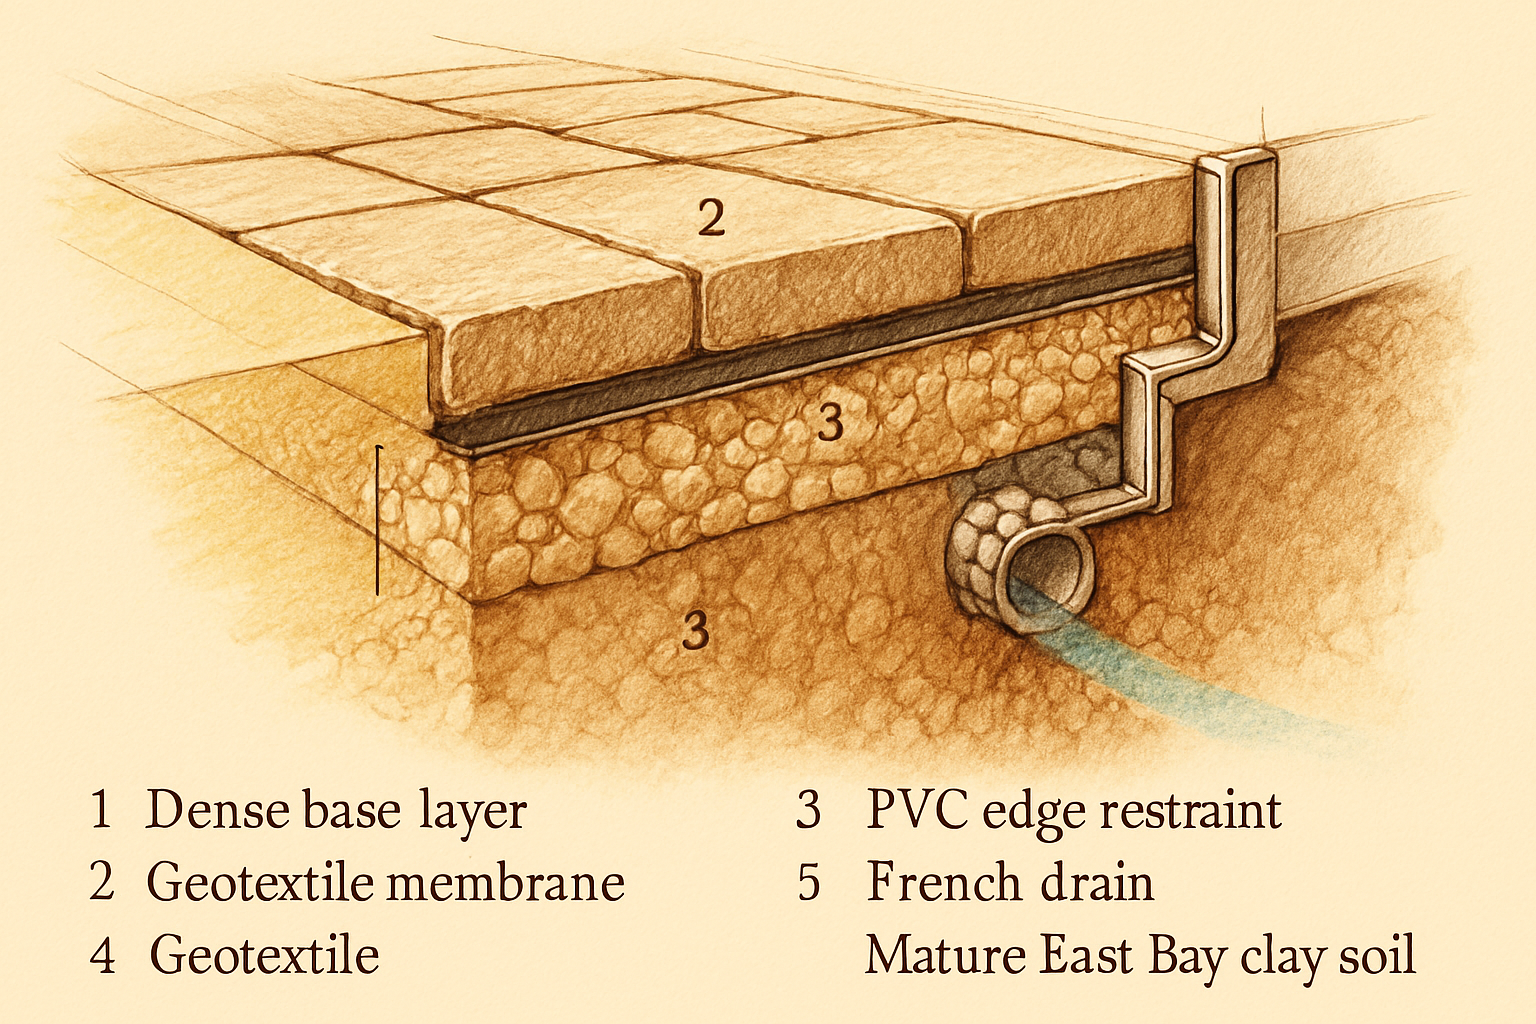
Base aggregate compaction in 3-inch lifts over non-woven geotextile, paver placement, edge restraint installation, and polymeric jointing. The width of this phase depends on paver field size, pattern complexity, and weather. A 1,500 sq ft herringbone field on a flat Danville lot runs faster than a 900 sq ft running bond on a sloped Moraga property with two drainage grade changes. See what proper paver base compaction actually requires — this is the phase most installers cut short.
Phase 6: Trade Utility and Feature Install (1–3 Weeks, Parallel or Serial)
Trade utility work — gas tie-in, electrical circuit connection, plumbing for sink — runs parallel where possible and serial where inspection gates require it. Outdoor kitchen installation, fire pit and fire feature finish work, pergola and arbor installation, and lighting commissioning all sequence through this phase. Poor pre-build coordination between trades produces its most expensive delays here.
Phase 7: Punch List and Final Inspection (1 Week)
The final inspection signs off on gas, electrical, and building permit finals. The punch list walk covers joint sand uniformity, edge restraint visibility, appliance function tests, drainage flow verification, and any surface chips or pattern breaks from the build phase. A well-run project keeps this phase to three to five business days.
How Do You Sequence Trades Correctly on an Outdoor Living Build?
Correct trade sequencing on an outdoor living build means utility rough-in before hardscape, hardscape before built features, built features before appliances, appliances before finals — and any deviation costs weeks of rework.
The correct outdoor living project coordination install sequence:
- Site prep and full-footprint excavation — including kitchen pad, fire feature location, and pergola post footings. Dig everything before any material goes in.
- Utility rough-in — gas trench, electrical conduit, plumbing rough-in, all trenched and inspected before backfill. This is non-negotiable. Trenching after base aggregate compaction means tearing up finished work.
- Rough-in inspection — city inspection of open trenches before they're covered. One failed inspection here costs 1–2 weeks.
- Subgrade prep and geotextile placement — non-woven fabric over compacted native soil, base aggregate depth specified to site conditions. On Lafayette hillside lots with heavy clay, 8-inch base depth is standard.
- Base aggregate compaction in 3-inch lifts — each lift compacted to 95% Proctor density before the next goes down. French drain installation at this stage if site drainage requires it.
- Paver field placement, edge restraints, and pattern sequencing — including perimeter work around kitchen pad and fire feature locations.
- Polymeric joint sand application — weather-window dependent: 50–80°F, 36-hour clear forecast. Techniseal polymeric sand is the standard spec for joint stability and weed resistance.
- Built-feature foundations — kitchen base footing pour or compacted aggregate pier, fire pit surround, pergola post setting. Isolated from paver field subgrade to manage differential movement.
- Built-feature finish work — kitchen counter fabrication and set, cabinetry installation, fire feature masonry, paver tie-ins with designed expansion gap detail.
- Appliance install and final utility connections — gas line tie-in and pressure test (C-36 scope), electrical circuit connection and GFCI outlet installation (C-10 scope), appliance commissioning.
- Lighting, audio commissioning, and permit finals — low-voltage system activation, speaker zone test, all permit final inspections.
The most common mis-sequence: pouring the kitchen counter slab before gas trench excavation is complete. Once concrete is poured, you're either cutting through it to trench or rerouting the gas line around it. Neither was in the bid. For the full contractor selection framework governing how these trades should be managed, see the contractor hiring guide for outdoor kitchens and fire pits.
Permit and Inspection Coordination — The Gating Events That Move Every Other Date
Permits and inspections are the gating events of an outdoor living build — every other phase can run smoothly and the project still stalls if a permit takes 4 weeks instead of 2 or an inspection fails and needs rescheduling.
The permit landscape across the East Bay:
Gas permits are required in Lafayette, Orinda, Moraga, Walnut Creek, and Danville for any new gas appliance run — outdoor kitchens, fire pits and fire features, fire tables, and gas-fired heaters all trigger a pull. No exceptions for outdoor installations.
Electrical permits apply to any new circuit — including the dedicated 20-amp circuits that outdoor refrigerators and ice makers require. The California Building Standards Code, which all five jurisdictions adopt and locally amend, requires GFCI protection on all 15- and 20-amp outdoor receptacles. That's a permit-covered C-10 scope item, not an add-on a hardscape crew handles.
Building permits may apply when kitchen structures exceed local height thresholds or when a pergola qualifies as a permanent structure under local zoning definitions. In Orinda and Lafayette, this threshold is worth confirming at the design stage — not at the framing inspection.
Verify your contractor's CSLB (Contractors State License Board) license and the license of every trade sub at cslb.ca.gov before anyone pulls a permit on your behalf. CSLB is California's licensing authority for all construction contractors; an unlicensed contractor voiding your permit is a common and expensive outcome. For a full contractor vetting framework, see the 9 questions to vet a paver installer before you commit to anyone on your project.
Combined gas, electrical, and building permits in East Bay jurisdictions typically take 2–4 weeks from submittal to issuance. Build that window into the project schedule from day one — it's not a surprise variable, it's a fixed planning input. A failed inspection costs 1–2 weeks for re-inspection scheduling. The contract should name the GC as the party responsible for pulling and managing all permits — if that language isn't in writing, it defaults to ambiguous.
Material Procurement and Lead Times — The Dimension Homeowners Underestimate Most
Material lead times for outdoor living projects in 2026 range from 2 weeks (stock pavers, standard appliances) to 12 weeks (custom stone counters, specialty louvered pergolas) — and orders need to start at design lockdown, not at contract signing.
| Material | Lead Time | Notes |
|---|---|---|
| Premium pavers (Belgard, Calstone — stock colors) | 2–4 weeks | Regional distribution; in-stock on most standard patterns |
| Specialty or imported pavers | 6–12 weeks | Non-stock formats, European porcelain, natural stone slab |
| Outdoor kitchen counter stone fabrication | 4–8 weeks | Template-to-delivery after slab selection |
| Outdoor kitchen appliances (Lynx, DCS, Hestan) | 2–6 weeks | Regional distributors stock core SKUs; specialty configs take longer |
| Gas fire features (pits, tables) | 2–4 weeks | In-stock units; custom masonry burner systems longer |
| Standard wood pergolas (cedar, pine) | 2–4 weeks | Kit systems available quickly; custom sizing adds time |
| Louvered aluminum pergolas (StruXure, Renson) | 6–10 weeks | Manufactured to order; no meaningful inventory at distributors |
The implication is direct: if your project includes a louvered pergola system and custom stone countertops, materials need to be ordered within a week of design lockdown. A GC who waits until after permit approval to place those orders has already added 6–8 weeks to your delivery window. That's the single most common reason full outdoor living projects push into fall when they were planned for summer.
For the full cost context on where material spend fits within a complete project budget, see the budget guide for large paver patios — it includes a line-by-line breakdown from base aggregate through soft costs and contingency.
Budget Management and Change-Order Discipline
Outdoor living build budgets stay intact when three disciplines are enforced: a 10–15% upfront contingency, written-before-work change orders for any scope addition, and bi-weekly budget reconciliation with the GC.
A change order is a written document that modifies the scope, price, or timeline of a construction contract — signed by both parties before any related work begins. Verbal approvals aren't change orders. An email saying "sounds good" isn't a change order. Until a change order is signed, no cost-incurring work should proceed.
Industry-standard change-order contingency for outdoor living builds is 10–15% of base contract value, with written approval required before any cost-incurring work proceeds.
Three categories generate most overruns:
Buried conditions — an old concrete slab under your Walnut Creek patio footprint, expansive clay requiring deeper base prep than the bid assumed, a buried irrigation main that needs rerouting. These typically add 10–25% to the affected phase when they surface. A site soil report before bid finalization reduces surprises. For how base failures cascade when buried conditions go undetected, see how to prevent paver patio sinking.
Scope creep — the homeowner decides mid-build to add a water feature, upgrade from a gas table to a masonry fire pit, or extend the paver field by 200 sq ft. Each addition is individually reasonable and collectively expensive. Scope additions mid-build typically run 10–30% more than the same item in the original bid, because mobilization and sequencing don't accommodate them cleanly. Capture every "maybe" feature in the original scope document as a priced alternate, so the decision is made before excavation, not after.
Material upgrade decisions — the countertop sample looks different outdoors than it did in the showroom, and you want to swap to a different stone. That's a legitimate call. The cost impact runs 5–15% on the affected scope item. Make those decisions before templates are cut.
For a full cost breakdown framework, see the budget guide for large paver patios, which covers the four variables that move the number most.
Communication and Stakeholder Alignment Across the Build
Outdoor living builds with multiple stakeholders — homeowner, GC, separate landscape designer, subs, inspectors — require single-channel communication and clear decision-authority. Projects fail at the seams between people, not just the seams between trades.
Outdoor living projects with weekly stakeholder check-ins finish on time 70% more often than projects with ad-hoc communication.
The practical structure that works:
Weekly check-ins during active build phases. A 30-minute call or meeting covering: work completed this week, work planned next week, blockers, and decisions needed from the homeowner. Not a social call — a structured status update with a written summary afterward.
Single-channel communication. One thread, one platform — email, Buildertrend, CoConstruct, or a structured shared folder. Scattered texts across three different people's phones means decisions get made without documentation and disputes get reconstructed from memory. The platform doesn't matter. The discipline does.
Decision-maker clarity in writing. The contract or a project brief should name who can approve scope changes. On projects where one spouse is primary contact and the other has different preferences, that ambiguity surfaces as costly mid-build debates. Clarify it before the shovel goes in.
The designer-GC-homeowner triangle. When a landscape designer and a GC are separate parties, design intent and construction reality need a translation layer — typically a coordination meeting at design completion where the GC confirms every detail is buildable as drawn. Without that meeting, field conflicts get resolved under schedule pressure rather than design logic.
How to Handle the 5 Most Common Coordination Failures
Outdoor living build coordination breaks in five predictable ways — knowing the fix for each before it happens saves 1–3 weeks per incident.
1. Weather delay extending into permit expiration window. East Bay rain can pause active construction for 2–4 weeks in a wet winter. Building permits in California typically expire after 180 days of inactivity — and a stalled outdoor build can approach that threshold faster than expected. Pull permits with a realistic weather-adjusted schedule in mind, and if the timeline is at risk, ask the building department about extensions before expiration, not after. A good GC tracks permit expiration dates as a standing project task.
2. Material backorder discovered at delivery date. A paver color or appliance SKU goes on extended backorder after the order was placed. At design lockdown, identify a pre-approved substitution for every critical material item — same pattern in a different colorway, a comparable appliance from a stocked SKU. Waiting until the backorder notice to make that decision adds 2–4 weeks while you restart the selection process. A good GC presents the substitution options at order time, not at crisis time.
3. Failed inspection. A rough-in inspection failure stops the project at that phase — nothing covers until the deficiency is corrected and re-inspection is scheduled. Understand the specific correction required, schedule the re-inspection the same week, and don't let it slip into the following week's availability. Inspectors in Lafayette, Orinda, and Walnut Creek typically have 3–5 business day scheduling windows. A good GC escalates a failed inspection as a same-day priority, not a next-week task.
4. Trade no-show. A sub doesn't show on their scheduled day — gas contractor delayed on a prior job, electrical crew reassigned. One day of no-show on a multi-trade project can cascade across three subsequent phases. This is primarily a GC's responsibility to backstop with a same-day call and a confirmed next date — but as a homeowner, escalate same-day rather than waiting to raise it at the weekly check-in. Waiting a week means losing a week. A good GC has backup contacts in their trade sub network for exactly this scenario.
5. Scope creep request. You walk the site mid-build and decide you want to add a built-in beverage station to the kitchen run. It's a reasonable feature. Adding it now means resequencing work, potentially reopening completed base work, and repricing under schedule pressure. Use the change-order process — written scope, written cost, signed before any related work starts. Never verbal-approve a scope addition, no matter how simple it sounds. A good GC won't proceed on a verbal approval; if they do, that's its own problem. For the full hiring framework that separates GCs who enforce this discipline from those who don't, see the contractor hiring guide for outdoor kitchens and fire pits.
Project Coordination Tools and Templates That East Bay Homeowners Actually Use
Outdoor living build coordination doesn't require expensive software — a shared file folder, a single-page schedule, a budget tracker, and a weekly status email template covers 90% of what homeowners need to stay in control of their outdoor living project coordination.
Shared document folder (Google Drive or Dropbox). One folder, shared with your GC: contracts, permits, change orders, inspection reports, material delivery confirmations, and dated site photos. Every document that matters lives here, not in text threads or email inboxes. When a dispute arises, you have a timestamped paper trail.
Single-page schedule. A simple table — Phase / Start / End / Status — pinned to the shared folder and updated weekly. It doesn't need to be a formal Gantt chart. It needs to show the current phase, what's next, and whether anything has shifted. A schedule updated weekly is useful. One created at contract signing and never touched again is decoration.
Budget tracker spreadsheet. Four columns: Category / Original Budget / Spent or Committed / Remaining. Updated at every bi-weekly reconciliation with your GC. When the remaining column goes negative on any line item, you have a conversation before the check clears — not after.
Weekly status email template. Ask your GC to send a short written summary after each weekly check-in: what was completed this week, what's planned for next week, any blockers, and any decisions needed from you before work can proceed. One structured email per week is a record. A verbal summary on a walk-through is a memory.
Punch-list template for final walk-through. Before the final inspection, walk the project with a written checklist: joint sand uniformity, edge restraint visibility, drainage grade verification, appliance function tests, lighting zone test, surface chip or pattern break inventory. A signed punch list at completion is the baseline for warranty claims — without it, "as-installed" is a matter of opinion. See how a day-by-day paver install should run for the homeowner-side verification checklist that applies through Phase 5 of your build.
How Lamorinda Pavers Coordinates Outdoor Living Builds Across the East Bay
A coordinated outdoor living build has a single GC accountable for the full sequence, written process for permits, line-item bidding, and weekly homeowner check-ins — and that's how Lamorinda Pavers structures every Lafayette, Orinda, Moraga, Walnut Creek, and Danville project.
Lamorinda Pavers coordinates outdoor living builds across Lafayette, Orinda, Moraga, Walnut Creek, and Danville as a single-GC structure with line-item bidding and weekly homeowner check-ins. Every paver patio installation and outdoor kitchen installation project is bid with all trades line-itemed — hardscape, gas, electrical, plumbing if applicable, permits, and contingency — so you can see where cost lives before you sign anything.
The project coordination plan is delivered in writing at contract signing: a phased schedule with phase start and end windows, permit pull responsibility assigned to Lamorinda, material order dates, and the weekly check-in format. The shared project folder is set up before mobilization. Change orders are written documents — nothing proceeds on a verbal.
ICPI (the Interlocking Concrete Pavement Institute) is the U.S. trade body that sets installation standards for interlocking concrete pavers — and Lamorinda's hardscape crew is ICPI-certified. Licensed C-36 and C-10 subs handle gas and electrical, with certificates of insurance provided before any sub touches the site. Contractor license #1092749 is verifiable directly at cslb.ca.gov.
Steve Barsanti is on-site for the design walk, the base inspection before aggregate placement, and the final punch-list walk-through — not a project manager handing off. The same person who scoped the project verifies the base depth and signs off on the drainage grade before pavers go down.
Every integrated outdoor living build at Lamorinda Pavers is covered under a 5-year workmanship warranty on the complete scope — drainage failure, base settlement, edge restraint movement, joint sand failure, and hardscape-to-structure tie-in failure attributable to installation defect. That warranty covers the integrated build, not just the paver field. You can review completed builds across the service area in the project gallery.
Frequently Asked Questions
How long does an outdoor living project take?
The realistic outdoor living build timeline in 2026 is 12–20 weeks for a full integrated project — paver hardscape plus outdoor kitchen, fire feature, shade structure, and lighting — from contract signing to final walk-through. Hardscape-only builds typically run 8–12 weeks when permit timing is included. The variables that move the number: permit issuance speed in your city (2–4 weeks is typical across Lafayette, Orinda, Moraga, Walnut Creek, and Danville), material lead times for specialty items (louvered pergolas take 6–10 weeks from order), and subgrade conditions discovered during excavation.
How do I manage an outdoor living build?
Managing an outdoor living build means staying active across five dimensions of outdoor living project coordination: verify the trade sequencing plan before excavation starts, track permit status weekly, confirm material orders were placed at design lockdown, enforce written change orders for any scope addition before work proceeds, and hold weekly check-ins with a written status summary. The GC handles execution — you're accountable for decisions, approvals, and escalating anything that slips more than two business days without a resolution. A shared document folder and a single-page schedule are the minimum infrastructure.
What's the right order to install an outdoor kitchen and patio?
The correct sequence for outdoor kitchen and patio installation is: (1) full-footprint excavation, (2) utility rough-in with trench inspection before backfill, (3) subgrade prep and geotextile, (4) base aggregate compaction in lifts, (5) paver field placement and edge restraints, (6) polymeric jointing, (7) kitchen base footing and fire feature foundation, (8) kitchen counter and cabinetry finish, (9) appliance install with gas and electrical tie-in, (10) lighting and audio commissioning, (11) permit finals. The most expensive mis-sequence is pouring kitchen foundations before utility trenching is complete — that makes the gas trench either impossible or destructive to undo.
How do I handle change orders on a hardscape project?
A change order is a written document that modifies the scope, price, or timeline of a construction contract — signed by both parties before any related work begins. When you want to add or modify a scope item mid-build, get it in writing with a specified cost impact before giving any approval. Verbal approvals create cost disputes. Industry-standard contingency for outdoor living builds is 10–15% of base contract value set aside at project start. Mid-build scope additions typically cost 10–30% more than the same item in the original bid, because sequencing doesn't accommodate late changes cleanly.
How long do paver and outdoor kitchen materials take to arrive?
Lead times vary significantly by material. Stock pavers from Belgard or Calstone: 2–4 weeks. Specialty or imported pavers: 6–12 weeks. Custom stone countertop fabrication: 4–8 weeks after template. Outdoor kitchen appliances from Lynx, DCS, or Hestan: 2–6 weeks depending on SKU and regional distributor inventory. Gas fire pits and tables: 2–4 weeks for in-stock units. Standard pergola systems: 2–4 weeks. Louvered aluminum pergolas from StruXure or Renson: 6–10 weeks, manufactured to order. Order everything at design lockdown — not at permit approval, not at contract signing.
What permits do I need for an outdoor living project in the East Bay?
A full outdoor living project in Lafayette, Orinda, Moraga, Walnut Creek, or Danville typically requires three permit types: a gas permit for any new gas appliance run, an electrical permit for any new circuit or GFCI outlet installation, and potentially a building permit if the kitchen structure exceeds local height thresholds or the pergola qualifies as a permanent structure under local zoning. The California Building Standards Code governs baseline requirements; each city applies local amendments. Combined permit timelines run 2–4 weeks from submittal to issuance. Your GC should carry written responsibility for pulling and managing all permits in the contract.
How do I avoid cost overruns on an outdoor living build?
Cost overruns on outdoor living builds come from three sources: buried subgrade conditions (add 10–25% to the affected phase), mid-build scope additions (add 10–30% over original bid pricing), and material upgrade decisions made after templates are cut (add 5–15%). The fix for all three is front-loading decisions: complete a site soil assessment before bid finalization, price every potential feature as an original-scope alternate, and select all materials before design lockdown. A 10–15% contingency line in the original contract covers the conditions you genuinely can't pre-empt.
Plan Your Outdoor Living Build With Coordination Built In From Day One
If you're planning an outdoor living build in 2026 and want a contractor who delivers a written coordination plan upfront — schedule, permit pull responsibility, material order dates, change-order process, and weekly check-ins — request a free on-site estimate from Lamorinda Pavers.
We'll walk the property, scope the build against every phase in this guide, and send a fixed-price proposal with the full coordination plan attached in writing within 48 hours. Every trade is line-itemed. Permit responsibility is named. The material procurement schedule is dated. The weekly check-in format is set before mobilization.
Across Lafayette, Orinda, Moraga, Walnut Creek, and Danville, this is how outdoor living projects finish on time, on budget, and on scope.
Contact us to schedule your site visit, or start with the paver patio installation and outdoor kitchen installation service pages for full scope detail on what a design-build engagement covers from first site walk through final permit inspection.