The Short Answer
Professional paver installation differs from DIY or cut-rate installs in six measurable dimensions — base preparation depth (8–10 inches Class II aggregate vs. 4–6 inch minimums), drainage engineering (proper crown and French drains vs. flat-grading), materials specification (named SKUs vs. allowances), edge restraint detail (PVC with 10-inch galvanized spike spacing vs. concrete curb or nothing), polymeric joint sand discipline (vehicular-rated vs. regular silica), and written workmanship warranty (5 years vs. a verbal handshake). Each dimension delivers measurable lifespan, durability, and resale benefits on East Bay clay-soil lots — the specific soil and drainage conditions in Lafayette, Orinda, Moraga, Walnut Creek, and Danville that make amateur shortcuts fail faster here than on flat, sandy lots elsewhere.
Professional paver installation costs 30–60% more upfront but delivers 3–5x the lifespan and 2x the resale recovery — making the cost premium pay back within 7–12 years for owners who plan to stay, and within 1–3 years for owners planning to sell.
What "Professional Paver Installation" Actually Means (Not What It Markets As)
Professional paver installation is defined by adherence to specific industry standards — ICPI Tech Spec 2 for installation sequencing, ASTM specifications for materials, CSLB licensing for contractor accountability — and by written commitments to those standards, not by branding or marketing language.
ICPI (the Interlocking Concrete Pavement Institute) is the U.S. trade body that sets installation standards for interlocking concrete pavers, including ICPI Tech Spec 2 (Construction of Interlocking Concrete Pavements), which governs base prep depth, edge restraint detail, and joint sand specification for residential and commercial applications. CSLB (the Contractors State License Board) is the California agency that licenses construction contractors; paver installation above $500 requires a C-27 landscape contractor license or B general building contractor license, verifiable at cslb.ca.gov.
Professional paver installation is not a marketing claim — it's verifiable through a CSLB license lookup at cslb.ca.gov, ICPI certification confirmation, ASTM-spec materials on the bid, and written contract language naming all six build dimensions. A legitimate installer names their CSLB license number in the first conversation, references ICPI Tech Spec 2 by name in the contract, and specifies named SKUs for every material on the bid. If you're talking to someone who can't do all three, you're not talking to a professional installer.
Small patio installs on flat, sandy lots with light pedestrian traffic are genuinely DIY-viable — a competent homeowner who builds to 4 inches of compacted base can get years of service from a 100-square-foot flagstone sitting area. This guide is about projects where the stakes are higher: vehicular driveways, large patios on Orinda Formation expansive clay, hillside lots where drainage engineering determines whether the base survives the first wet season. For a deeper look at what those higher-stakes installs involve from the ground up, what is paver base compaction and why it matters is the right starting point.
The 6 Build Dimensions That Separate Professional from Amateur Paver Installation
Six build dimensions distinguish professional from amateur paver installation, and a competent homeowner can verify each one in writing before signing a contract. The brief's outline specifies each dimension with a named pro spec and a named amateur shortcut — that's the right framing, because every claim here traces to ICPI Tech Spec 2, ASTM specifications, or contractual line items, not to marketing language.
Base Preparation Depth and Compaction
Professional base spec is 8–10 inches of compacted Class II aggregate built in 3-inch lifts to 95% Proctor density. Class II aggregate is a graded crushed stone blend meeting the Caltrans gradation specification for particle size distribution — it achieves tight angular interlock under compaction and maintains bearing capacity under repeated vehicle load. Amateur installs commonly use 4–6 inches poured in a single lift.
The physics make the difference unavoidable. Plate compactor vibration penetrates only 3–4 inches into Class II aggregate. A contractor who pours 6 inches in one lift compacts only the top half — the bottom remains loose and consolidates slowly under vehicle weight. Three-inch lifts with 4–6 plate compactor passes per lift is the correct sequence per ICPI Tech Spec 2. On East Bay expansive clay lots, that base is also separated from the native subgrade with a non-woven geotextile fabric that prevents clay fines from migrating upward into aggregate voids under winter hydraulic pressure — without it, three to five wet seasons destroy a correctly built base from the bottom up.
A paver installation built to ICPI Tech Spec 2 with 8–10 inch base depth and 95% Proctor density lasts 25–50 years; without those standards, it fails visibly within 5–15 years.
Drainage Engineering (Grading and Subsurface)
Professional drainage engineering means a minimum 1-inch-per-8-feet surface slope per ICPI Tech Spec 2, subsurface French drains on hillside lots where uphill runoff reaches the paver footprint, and downspout routing that doesn't discharge against the base. Amateur installs are commonly flat-graded for ease — whoever set the forms went level — and drainage is left to chance.
Drainage failure causes 30–50% loss of compressive strength in the paver base on Orinda Formation clay. A saturated subgrade doesn't fail permanently in one season — but each wet season that base sinks into the softened clay is settlement that doesn't reverse. On properties along Happy Valley Road in Lafayette or above Route 24 in the Orinda hills, uphill runoff reaches the driveway or patio footprint regardless of how the paved surface is graded. Those lots need a French drain at the uphill edge. Surface slope corrects what the paver field does with water; a French drain addresses where the water comes from. For a walkthrough of what drainage failure actually looks like and how to diagnose it on a driveway, how to fix driveway pavers uneven from drainage covers the 4-step diagnostic sequence.
Materials Specification (Named SKUs, Not Allowances)
Professional material specification names every product by SKU in the contract: paver brand and product line (Belgard, Calstone, or Techo-Bloc with the specific series name), bedding sand grade (ASTM C33 — the standardized gradation specification for concrete sand used as paver bedding, ensuring consistent 1-inch screeded depth without compaction under the paver), polymeric joint sand product and SKU, and edge restraint product line. Amateur contracts use allowances — a dollar figure per square foot against which the contractor selects materials after signing.
The allowance format lets a contractor accept your deposit against a Belgard Mega Arbel spec and install a generic commodity paver. Named SKUs in the contract eliminate that substitution risk. Paver products from Belgard, Calstone, and Techo-Bloc all meet the concrete unit masonry standard ASTM C936, which ICPI Tech Spec 2 references — commodity pavers from non-certified manufacturers don't.
Edge Restraint Detail (PVC with 10-Inch Spike Spacing)
Professional edge restraint specification is PVC spike-down restraint with 10-inch galvanized spikes at 10-inch spacing, continuous around the full perimeter including corners. Amateur installs use existing concrete curb as the restraint, pour a 4-inch concrete edge that bonds poorly to aggregate, or skip restraint entirely.
Edge restraint with 10-inch galvanized spikes at 10-inch spacing prevents 60–70% of lateral failure modes. Without proper lateral confinement, perimeter pavers migrate 1/4 to 1/2 inch per year — gradual enough to miss at first glance, obvious when you check alignment after three seasons. At corners and turning radii, vehicle shear force concentrates — those are the zones where wrong-spec spikes at 24-inch spacing fail first. The spike spacing isn't aesthetic preference; it's a load-based engineering specification. For a detailed map of the specific failure modes this prevents, 11 driveway paver mistakes that cause cracks covers edge restraint omission alongside the ten other shortcuts that produce early failures.
Polymeric Joint Sand Discipline (Vehicular-Rated Where Required)
Professional polymeric sand specification uses vehicular-rated products — Techniseal HP NextGel or Alliance Gator Maxx — on driveways and heavy-use surfaces, and premium pedestrian-rated polymeric on patios. Both Techniseal HP NextGel and Alliance Gator Maxx carry explicit vehicular-use ratings printed on the product label; confirm this before accepting delivery. Amateur installs commonly use regular silica sand, which washes out of driveway joints within two to three East Bay winters, or patio-grade polymeric, which isn't formulated for the compression-and-rebound cycling that vehicle tires generate daily.
Polymeric joint sand on a professional installation needs resand and reseal every 5–7 years to maintain joint integrity. That cadence is predictable maintenance, not a failure — but it only holds if the initial product was correct for the use type. Choosing Techniseal HP NextGel or Alliance Gator Maxx on day one means the joint holds through multiple wet seasons before the first resand is due.
Written Workmanship Warranty (5 Years Minimum)
A professional workmanship warranty covers base settlement, drainage failure attributable to the installation, edge restraint movement, and joint sand failure — in writing, transferable to the next owner, for a minimum of 5 years. Amateur installs come with verbal assurances.
The warranty scope matters as much as the term. A 1-year warranty on finish quality doesn't cover the base settlement that shows up in year 2 after the first wet season. A 5-year transferable workmanship warranty on a paver installation signals that the contractor built to a spec they're willing to stand behind for the scenarios that actually fail — drainage and base — not just the cosmetic scenarios that look bad at substantial completion.
How Professional Paver Installation Upgrades a Patio
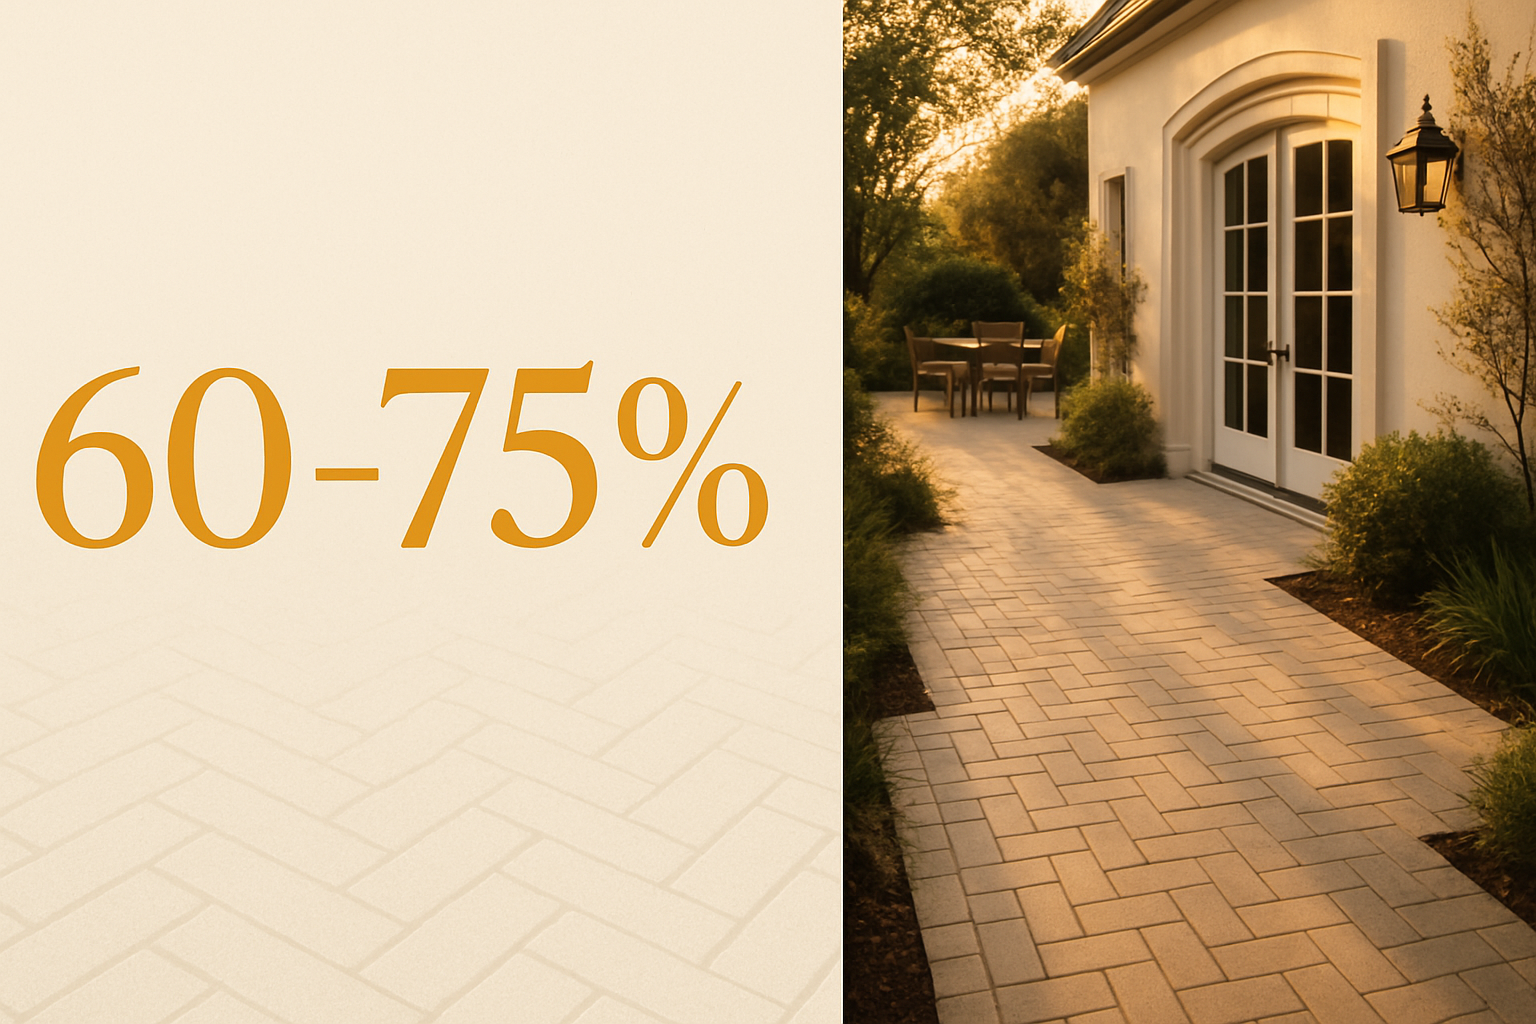
Professional paver patio installation delivers a 25–50 year lifespan on East Bay clay-soil lots, holds 60–75% of cost in resale value, and maintains level tolerance under 1/4 inch over 8 feet — versus DIY installs that typically show sinking, joint failure, and level issues within 5–10 years.
The patio-specific build elements a professional installation addresses: base depth adjusted for the site's clay profile (typically 6–8 inches on Orinda and Moraga lots with high-expansion clay, vs. the 4-inch minimum that works on sandy Danville flatland); geotextile separation between clay subgrade and aggregate; and patio-rated polymeric joint sand activated within the correct temperature and moisture window. Herringbone and running-bond patterns are both viable for patios — pattern selection here is primarily aesthetic, since pedestrian loads don't generate the turning shear that makes herringbone a structural specification on driveways.
For the full installation sequence — base excavation through pattern layout through joint sand activation — the full paver patio install walkthrough covers every step. For how paver patio installation integrates with outdoor kitchen rough-ins, lighting conduit, and fire feature footings, those details need to be trenched during base prep — not retrofitted after the pavers are set. Common drainage mistakes that plague DIY patio builds on clay soil are documented in 11 DIY paver patio mistakes that ruin drainage — worth reading before any contractor walk.
How Professional Paver Installation Upgrades a Driveway
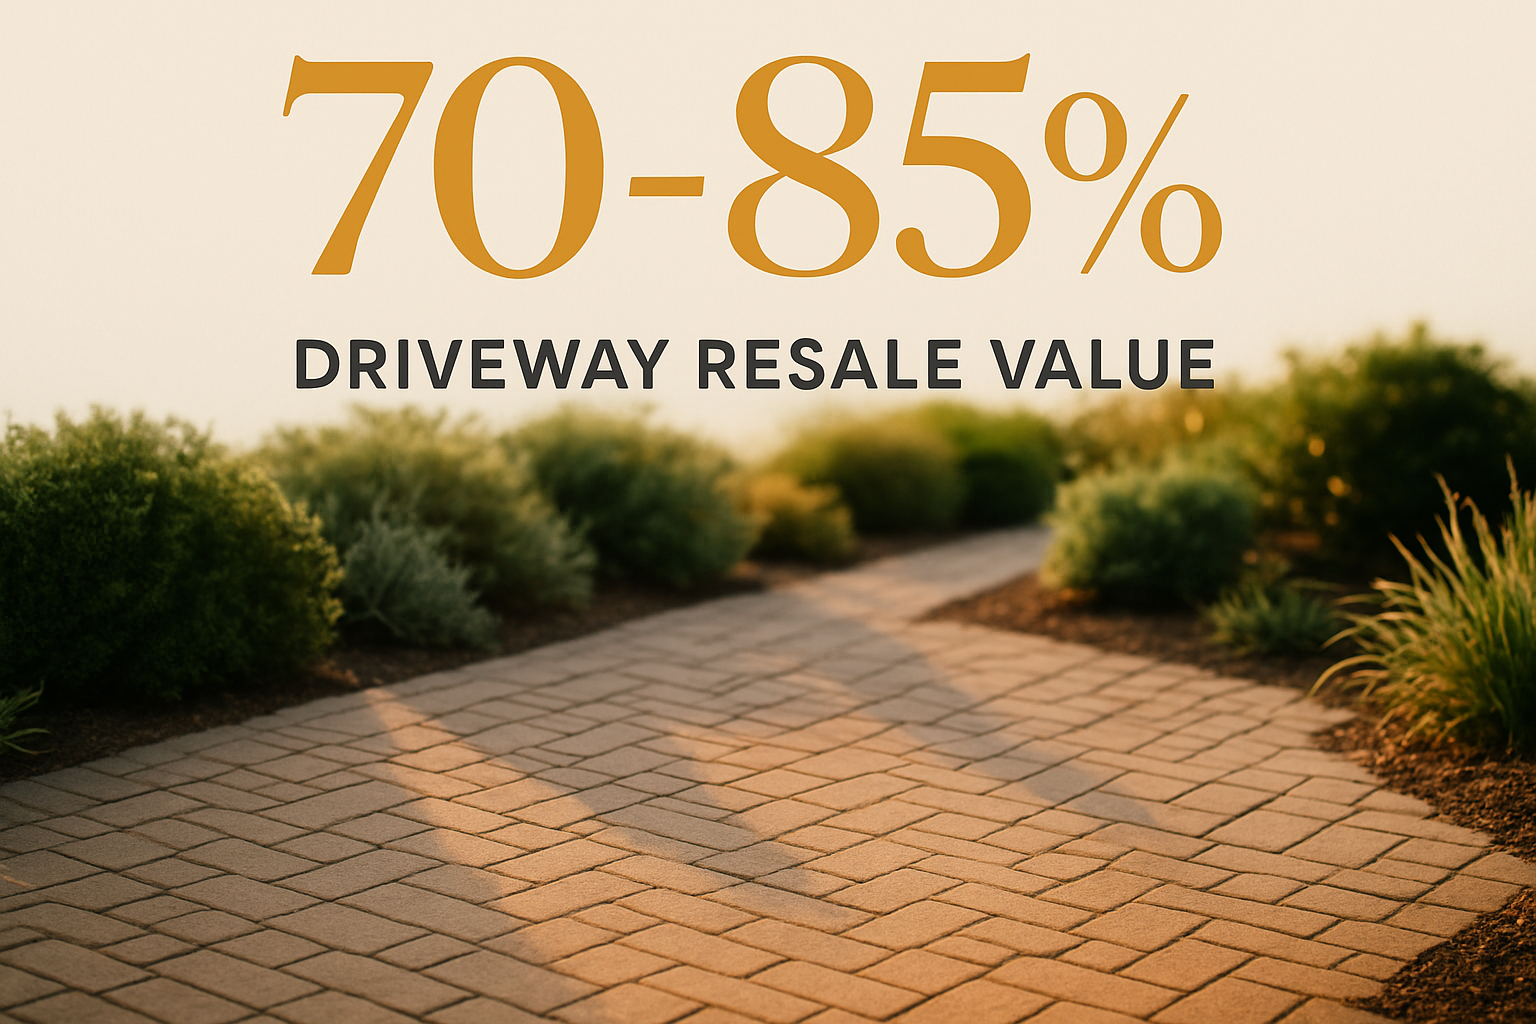
Professional paver driveway installation delivers vehicle-load capacity that lasts 25–50 years with reseal every 5–7 years, recovers 70–85% of cost at resale, and resists the sinking and shifting failures that plague cut-rate installs within 18–36 months.
The driveway-specific upgrade elements: base depth of 8–10 inches (deeper than patio spec because residential vehicle loads demand higher bearing capacity), 80mm vehicular-rated pavers rather than 60mm patio units, PVC edge restraints with galvanized spike spacing sized for vehicle turning shear, and Techniseal HP NextGel or Alliance Gator Maxx rather than patio-grade polymeric. Pattern matters for driveways structurally — 45-degree herringbone is ICPI's recommended pattern for vehicular surfaces because it distributes vehicle force vectors across the maximum number of joint edges. Running bond oriented parallel to vehicle travel aligns continuous joint lines with shear force, which is essentially a displacement guide.
Paver driveways installed professionally recover 70–85% of cost at resale — the highest ROI of any hardscape feature on East Bay residential properties. For paver driveway installation on hillside lots in Lafayette, Orinda, and Moraga, the drainage engineering component is the driveway upgrade that buyers and appraisers can't see but that determines whether the installation holds its value across wet seasons. For a diagnostic map of what goes wrong when that engineering is skipped, what causes driveway pavers to sink or shift covers the failure-mode taxonomy.
How Professional Paver Installation Upgrades a Walkway
Professional paver walkway installation delivers a pedestrian-load surface that lasts 25–50 years with minimal maintenance, returns 70–80% of cost at resale, and addresses the first-impression curb appeal mechanic that drives buyer interest from listing photos.
Walkway-specific elements: base depth is typically 4–6 inches Class II on flat lots with good drainage (lighter than driveway spec, appropriate for pedestrian load), integrated step risers where the grade changes, and pattern selection aligned with the walkway's visual goal — running bond widens a narrow path visually, herringbone compresses it. Lighting conduit gets trenched during base prep, not after — retrofitting conduit under a set walkway means lifting pavers, which is avoidable cost.
The walkway is frequently the highest ROI paver project on a per-dollar basis. A professionally installed front entry walkway in Walnut Creek or Lafayette — Calstone or Belgard units in a running bond with a contrasting border — shows in every listing photo, every street-view drive-by, and every appraisal walk-through. For how walkways stack against patios and driveways in the resale value conversation, the paver outdoor living ROI guide covers the full property-level math. And if you're wondering whether a patio addition alongside the walkway makes financial sense, do paver patios increase home value in the East Bay gives the detailed recovery-rate breakdown.
How Does Professional Paver Installation Improve Drainage Performance?
Professional paver installation improves drainage performance through three engineered elements — proper surface grading (1 inch per 8 feet minimum per ICPI Tech Spec 2), subsurface French drains where uphill water reaches the paver footprint, and permeable paver options for sites with stormwater code triggers.
A French drain is a perforated pipe buried in clean gravel and wrapped in geotextile fabric that collects subsurface and surface water and routes it to a daylight outlet — it intercepts water before it reaches the base. On hillside lots above Route 24 in the Orinda hills or on steeper Moraga grades, French drains at the uphill edge of a driveway or patio footprint are structural requirements, not upgrades.
Contra Costa County stormwater compliance applies to impervious surfaces over 2,500 square feet — larger driveways and combined patio-walkway-driveway projects may trigger permeable paver requirements or detention basin specifications. Permeable paver systems — interlocking concrete pavers with open joints filled with clean stone rather than polymeric sand — allow stormwater to infiltrate rather than sheet toward the street. Professional installation of permeable systems requires a modified base specification (open-graded aggregate, no geotextile separator between aggregate layers) and proper connection to infiltration basins or perforated drain networks.
Drainage failure causes 30–50% loss of compressive strength in the paver base — professional drainage engineering preserves base capacity through the wet season. For the homeowner-side view of what drainage failure looks like after it's happened, how to prevent paver patio sinking covers the prevention mechanics in detail.
How Professional Paver Installation Improves Durability
Professional paver installation delivers 25–50 year durability on East Bay clay-soil lots by addressing the four failure modes that destroy amateur installs — inadequate base, drainage failure, edge restraint omission, and wrong joint sand specification.
A paver installation built to ICPI Tech Spec 2 with proper base, drainage, edge restraints, and polymeric sand lasts 25–50 years; the same pavers installed without these standards fail visibly within 5–15 years. The distinction is worth holding onto: the paver units themselves — Belgard, Calstone, Techo-Bloc — are manufactured to 8,000 psi compressive strength and rated for 100+ years of service life. Premium paver units themselves are rated for 100+ years; the lifespan limit is what's underneath them. An 80mm Belgard Mega-Lafitt unit sitting on a 4-inch single-lift base on Orinda Formation clay will fail in 5 years. The same unit on a properly engineered base lasts your lifetime.
The maintenance cadence on a professional install is minimal: reseal polymeric joint sand every 5–7 years, reseal the paver surface every 3–5 years if sealed (optional on most residential projects), inspect edge restraint alignment annually and re-spike any sections that show movement. The failure-mode interventions — base remediation, regrade, French drain installation — don't appear in the maintenance schedule of a correctly built installation. For the mechanics of base compaction that make that durability possible, what is paver base compaction and why it matters is the technical deep-dive.
How Professional Paver Installation Improves Curb Appeal and Resale Value
Professional paver installation lifts East Bay home resale value by 60–85% of project cost depending on the feature — paver driveways recover 70–85%, patios recover 60–75%, specialty features like outdoor kitchens and fire pits recover 40–65% — because buyers, appraisers, and listing photos all reward visible quality.
The value mechanics work at three levels. Appraisers credit contributory value for well-installed hardscape — a professionally installed driveway with named materials, documented warranty, and verifiable contractor license records as a property improvement, not a cosmetic update. Listing photos dominated by a well-patterned herringbone driveway or a Belgard Villagio patio with integrated outdoor kitchen drive buyer click-through rates that translate to competitive offer environments. And maintained pavers — no sinking, no weed intrusion, no cracked units — signal property-wide maintenance discipline to buyers doing walkthroughs.
According to the Remodeling Cost vs. Value Report (Hanley Wood), hardscape projects in high-value West Coast markets recover cost at rates consistently above the national average — a relevant benchmark for Walnut Creek and Danville buyers where comparable-sales data supports hardscape contributory value. Lamorinda Pavers builds professional paver installations across Lafayette, Orinda, Moraga, Walnut Creek, and Danville with material choices, build specs, and warranty documentation that preserve appraisal value over time. For the complete paver resale value breakdown by feature type — including how much the 10 highest-ROI upgrades return on East Bay properties — 10 paver upgrades that raise East Bay resale value is the reference.
What Professional Paver Installation Actually Costs (and Why the Premium Pays Back)
Professional paver installation costs 30–60% more than cheap or DIY installs in upfront price, but delivers 3–5x the lifespan and 2x the resale recovery — making the cost premium pay back within 7–12 years for owners who plan to stay, and within 1–3 years for owners planning to sell.
The cost-per-year math:
| Project type | Cut-rate install | Professional install | Cut-rate lifespan | Professional lifespan | Cost per year (cut-rate) | Cost per year (professional) |
|---|---|---|---|---|---|---|
| 600 sq ft paver patio | $12K–$18K | $20K–$32K | 8–12 years | 25–50 years | $1,500–$2,250 | $640–$800 |
| 800 sq ft driveway | $18K–$26K | $28K–$45K | 5–10 years | 25–50 years | $2,600–$3,600 | $900–$1,125 |
| 200 sq ft walkway | $4K–$7K | $7K–$12K | 8–15 years | 25–50 years | $467–$700 | $240–$280 |
The resale recovery math adds another dimension. A $28K professionally installed driveway that recovers 75% at resale returns $21K in attributable value — recoverable within 1–3 years if the property sells. A $22K cut-rate driveway that recovers 30% (because buyers and appraisers can see the sinking and open joints) returns $6.6K. The gap between those recovery rates funds the professional premium with room to spare. For a full budget breakdown on larger patio projects, budgeting a large paver patio in 2026 covers the line-by-line cost build for 800–2,500 sq ft installs.
How to Recognize a Professional Paver Installer from a Cut-Rate One
Recognize professional paver installers by three signals — CSLB license verifiable at cslb.ca.gov, ICPI-certified installers on the crew, and written contracts with all six build dimensions specified as line items.
On the first call, ask for the CSLB license number and look it up at cslb.ca.gov before the site visit. The license should show active status, correct license class (C-27 or B), and no disciplinary actions. A professional installer names their license number immediately — it's public information and they know it.
On the bid, look for named SKUs across every material category: paver product and series, bedding sand specification (ASTM C33), polymeric joint sand product name, edge restraint product line. An allowance line — "$X per square foot for pavers, TBD" — is the signal to ask questions before signing. Look for base depth specified in inches with compaction lift sequence noted. Look for a drainage plan — surface slope specification, French drain noted if the site requires it.
After signing, verify that the crew uses a plate compactor (not hand tamping) on the base aggregate, that base goes down in lifts with compaction between each, and that edge restraints are spiked continuously at the specified interval. For the full vetting framework, 9 questions to vet a paver installer walks through what to ask and what the right answers sound like. For the specific shortcuts that cut-rate installers take — and the time-to-failure for each — 11 driveway paver mistakes that cause cracks is the complete failure-mode map.
A professional paver installer in California names their CSLB license number, ICPI certification status, and all six build dimensions in their contract on the first phone call. The one who can't isn't using a different definition of professional — they're selling something different.
How Lamorinda Pavers Approaches Professional Installation Across East Bay Outdoor Spaces
Professional paver installation across East Bay outdoor spaces requires the same six build dimensions applied to every project type — patios, walkways, driveways, pool decks, motor courts — and that consistency is how Lamorinda Pavers builds across Lafayette, Orinda, Moraga, Walnut Creek, and Danville.
The build standard doesn't vary by project size. A 200-square-foot walkway gets the same geotextile over native clay, the same named material SKUs in the contract, and the same edge restraint spec as a 1,200-square-foot driveway. On every bid I send, the six dimensions are line items: base depth and lift sequence, drainage plan with slope specification, named paver SKU (Belgard, Calstone, or Techo-Bloc depending on the application), ASTM C33 bedding sand, polymeric joint sand product by name (Techniseal HP NextGel or Alliance Gator Maxx for vehicular applications), and edge restraint product with spike spacing. The 5-year transferable workmanship warranty covers base settlement, drainage failure attributable to the installation, edge restraint movement, and joint sand failure — in writing, transferable to the next owner.
On clay-soil lots in Orinda and Moraga, I read the drainage situation on every site walk — where winter runoff concentrates, whether a French drain is required at the uphill edge, what the existing downspout routing does to the base footprint. On Lafayette hillside driveways along Happy Valley Road, subsurface water management gets its own review before the base depth spec is set. On Walnut Creek and Danville flatland projects, the drainage engineering is simpler, but the base prep and material specification are identical.
CSLB License #1092749. Lamorinda Pavers is owner-operated — I'm on every project, not dispatching crews to jobs I've never seen. For what a full-scope project looks like from design through completion, the projects gallery shows recent installations across all five cities.
Frequently Asked Questions
What is professional paver installation?
Professional paver installation is the construction of an interlocking paver surface adhering to ICPI Tech Spec 2 standards, ASTM material specifications, and CSLB contractor licensing requirements, documented in writing. It's defined by six measurable build dimensions: base preparation depth (8–10 inches Class II aggregate), drainage engineering, named material SKUs, PVC edge restraints at 10-inch spike spacing, vehicular-rated polymeric joint sand, and a 5-year written workmanship warranty. It is not a marketing category — every claim is verifiable through a license lookup, a contract review, and on-site inspection during the build.
How is professional paver installation different from DIY?
Professional paver installation differs from DIY in base depth and compaction (8–10 inches in 3-inch lifts to 95% Proctor density vs. 4–6 inches hand-tamped), drainage engineering (proper surface crown, French drains on hillside lots vs. flat-grading), material specification (named SKUs for paver, sand, and polymeric vs. whatever's at the hardware store), edge restraint installation (PVC spike-down at 10-inch spacing vs. omitted), and warranty (5-year written workmanship vs. none). Small patio installs on flat, sandy lots with light pedestrian load are genuinely DIY-viable. Vehicular driveways, hillside lots, and large patios on East Bay expansive clay are not.
How much more does professional paver installation cost?
Professional paver installation costs 30–60% more upfront than cut-rate or DIY installs. A 600-square-foot patio runs $20K–$32K installed professionally vs. $12K–$18K at cut-rate pricing; an 800-square-foot driveway runs $28K–$45K professionally vs. $18K–$26K at cut-rate. The professional premium pays back through 3–5x longer lifespan (cost per year is lower from year one) and 2x higher resale recovery — cut-rate installs recover 25–35% of cost at resale; professional installs recover 70–85%.
How long does professional paver installation last?
Professional paver installation built to ICPI Tech Spec 2 with 8–10 inch Class II base, proper drainage, PVC edge restraints, and vehicular-rated polymeric joint sand lasts 25–50 years on East Bay clay-soil lots. Maintenance cadence: reseal polymeric joint sand every 5–7 years, inspect edge restraint alignment annually. The paver units themselves — Belgard, Calstone, Techo-Bloc — are rated for 100+ years of service life. The lifespan limit is what's underneath them, not the pavers.
What credentials should a professional paver installer have?
A professional paver installer in California must hold an active CSLB C-27 landscape contractor license or B general building contractor license, verifiable at cslb.ca.gov. ICPI installer certification on the crew demonstrates knowledge of ICPI Tech Spec 2 installation standards. Both should be named in the contract alongside named material SKUs, base depth specification, drainage plan, and warranty terms. Any installer who can't provide the CSLB license number on the first call, or who presents an allowance-based bid rather than named SKUs, hasn't met the baseline for professional paver installation.
Is professional paver installation worth the cost premium?
Yes — for driveways, large patios, and any project on East Bay clay-soil or hillside lots. Professional paver installation costs 30–60% more upfront but delivers 3–5x the lifespan and 2x the resale recovery, making the cost-per-year and resale math strongly favor the professional premium. The exception is a small pedestrian patio on a flat, sandy lot with good drainage — that's where a competent DIY or entry-level install performs adequately. On Lafayette hillside lots, Orinda Formation clay, or any vehicular application, the amateur shortcuts that reduce upfront cost produce base failures that cost more to remediate than the original professional premium would have.
Get a Written Commitment to All Six Build Dimensions
If you're scoping a paver project — patio, driveway, walkway, or full outdoor living build — and want a written commitment to the six build dimensions covered in this guide, request a free on-site estimate from Lamorinda Pavers. I'll walk the property personally, read the drainage situation, scope the project to the site's actual clay profile and grade, and send a fixed-price proposal with each of the six dimensions itemized in writing within 48 hours: base depth and lift sequence, drainage plan with slope specification, named paver and polymeric SKUs, edge restraint product and spike spacing, and the 5-year transferable workmanship warranty.
Resand, regrade, channel drain, French drain, base supplement, full build — each is priced separately so you're choosing based on what your property actually needs, not what sounds comprehensive. Across Lafayette, Orinda, Moraga, Walnut Creek, and Danville, this is what professional paver installation actually looks like in contract.
Contact us to schedule your site visit. CSLB License #1092749.